This is a 100 watt HF/6m Antenna Tuner kit sold through the usual consumer sites like Amazon, Ebay, and AliExpress. It was apparently designed by N7DDC.
I happened to run across this tuner kit while looking for something else on Amazon. At $30 or so, it was cheap enough to take a chance on and it’s always fun to build a kit! After I bought it, I noticed it was on the Black Friday sale for cheaper… so, of course I bought another one.
Building the kit was fairly straight forward although the instructions were not very detailed, just a single-sided instruction sheet. You need to wind 7 inductors, 4 of which are on toroidal cores and three are air-wound. Figuring out the diameter and number of turns required studying the schematic for a minute. The info you need is in the parts list. Two of the toroids are wound onto two cores in parallel to get the required inductance. Some have said you can also find a single Amidon core that will work better, but I wanted to use the parts that came in the kit.
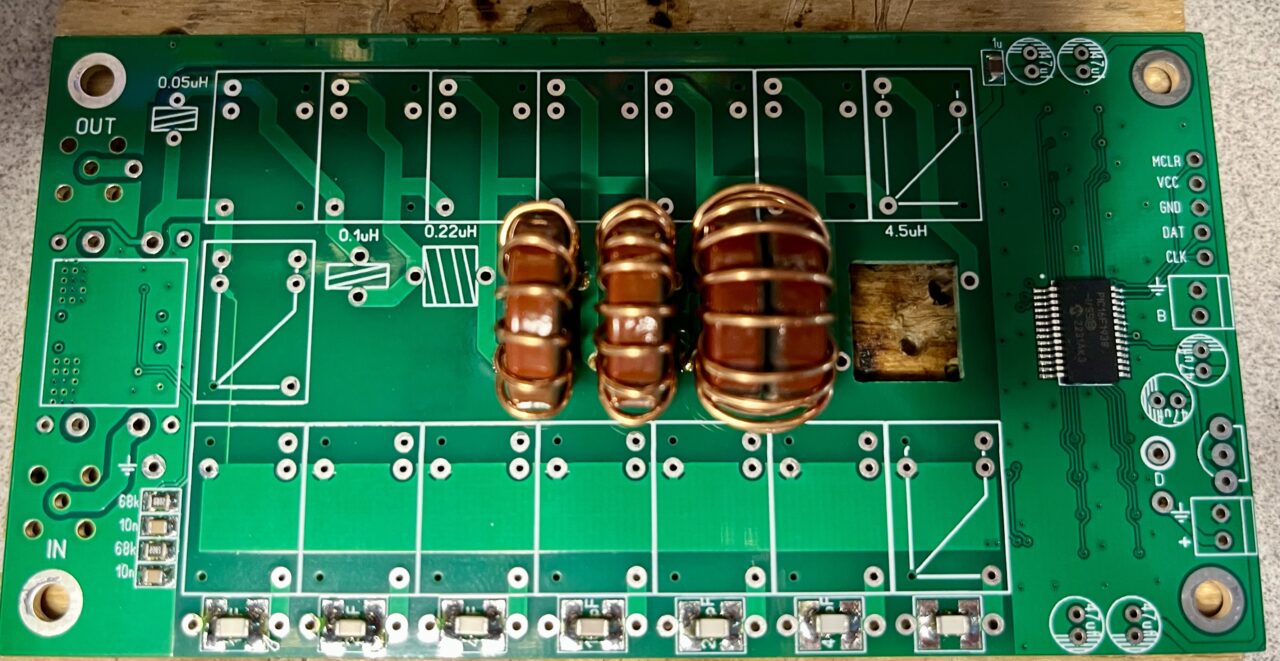
The last toroid you need to wind is the binocular core for the “Tandem Match”, which is two 10:1 transformers. The sparse instructions say to use stranded hookup wire for the primary winding which is one turn through the core. The secondary winding is 10 turns of enameled copper wire.
After I built mine, I found that others had used the center conductor from RG58 coax and that looked a lot nicer than stranded hookup wire.
Once I had the toroids wound and installed I went on to install the relays that switch the capacitors (surface mounted, already installed by the factory) and inductors into the circuit as needed. The problem was that when I wound my toroids, I couldn’t get the wire to lay flat against the core on the outside. This doesn’t really matter in terms of performance, but there wasn’t much room for the relays to fit into the circuit board. If you’re building this, make sure you do your best to keep the wire very flat against the outside of the toroid. I used the handle of a pair of pliers to flatten the coils to make room for the relays.
Lastly there were some 47uF electrolytic caps and a small 5V voltage regulator to install.
The board kit, which is separate from the enclosure kit, comes with two right-angle SMA connectors. I soldered those to the board so that I could test it out.
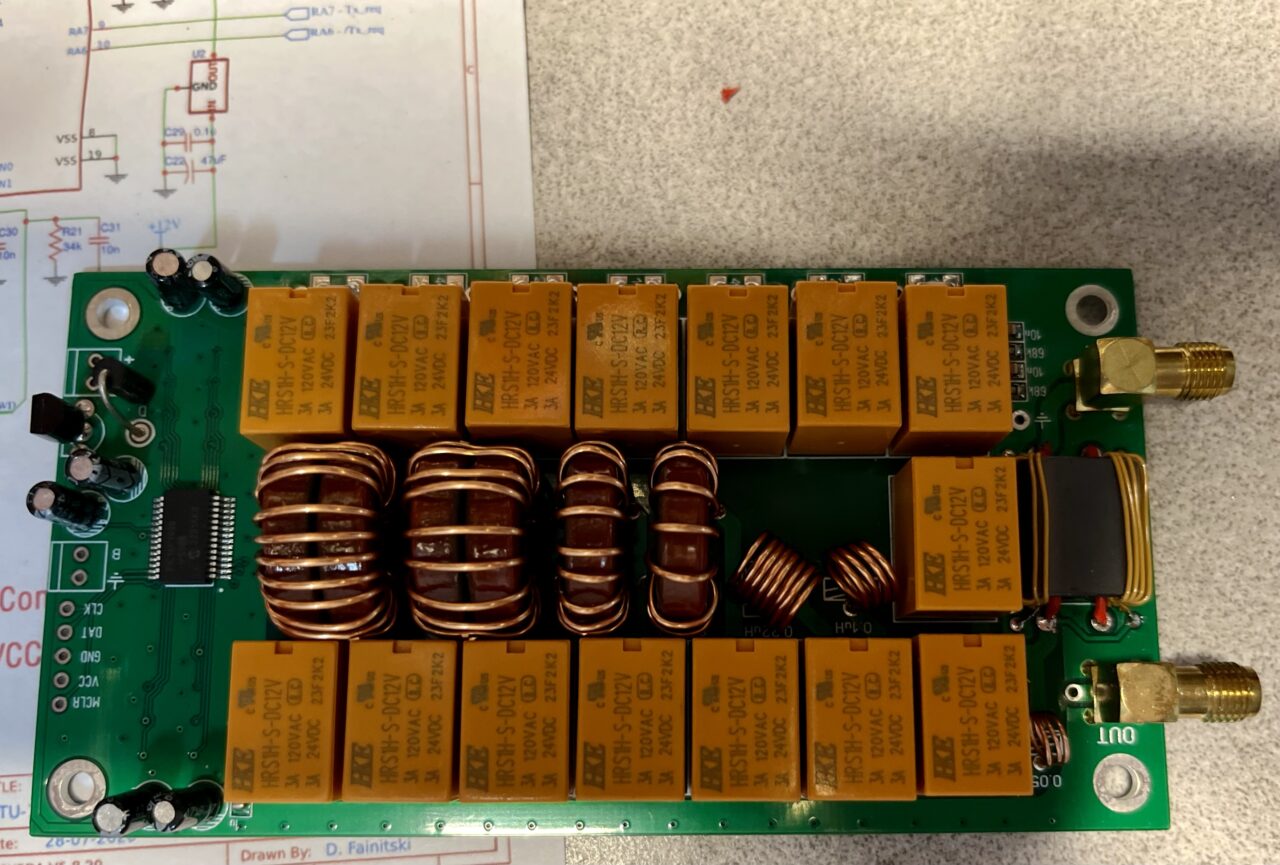
The board kit did not come with any connectors for providing power or for the Tune button. I used ones I already had and they looked like the intended connectors.
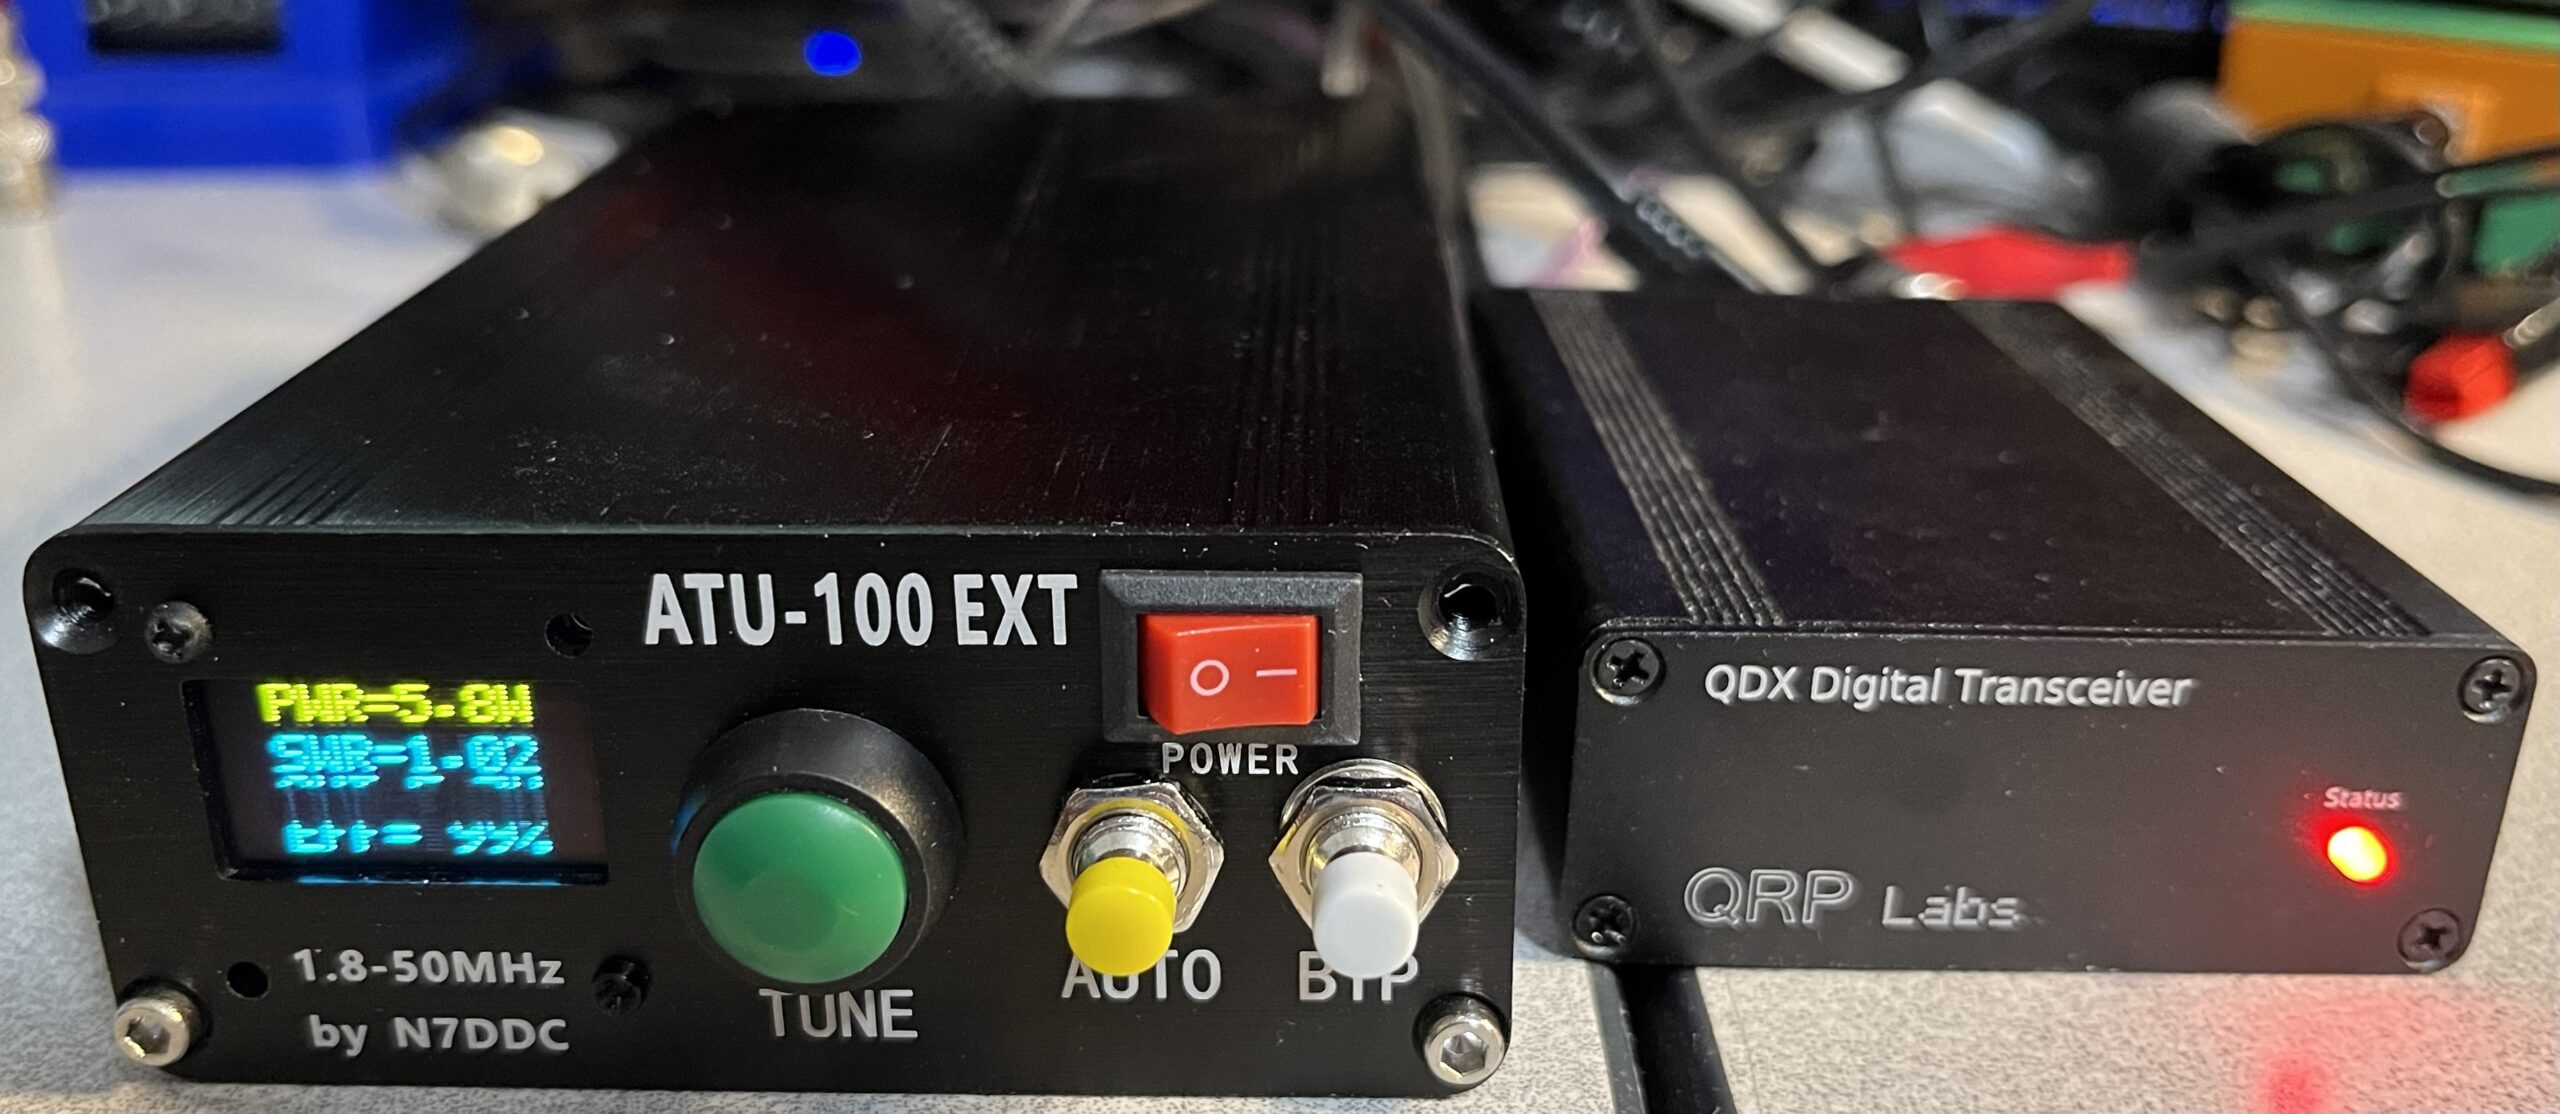
I hooked the antenna port to my 40 meter inverted V antenna and the input port to my QDX digital transceiver. I used WSJT-X to tell it to Tune and it worked! It quickly found a match and displayed the output power, capacitance and inductance values used. Neat!
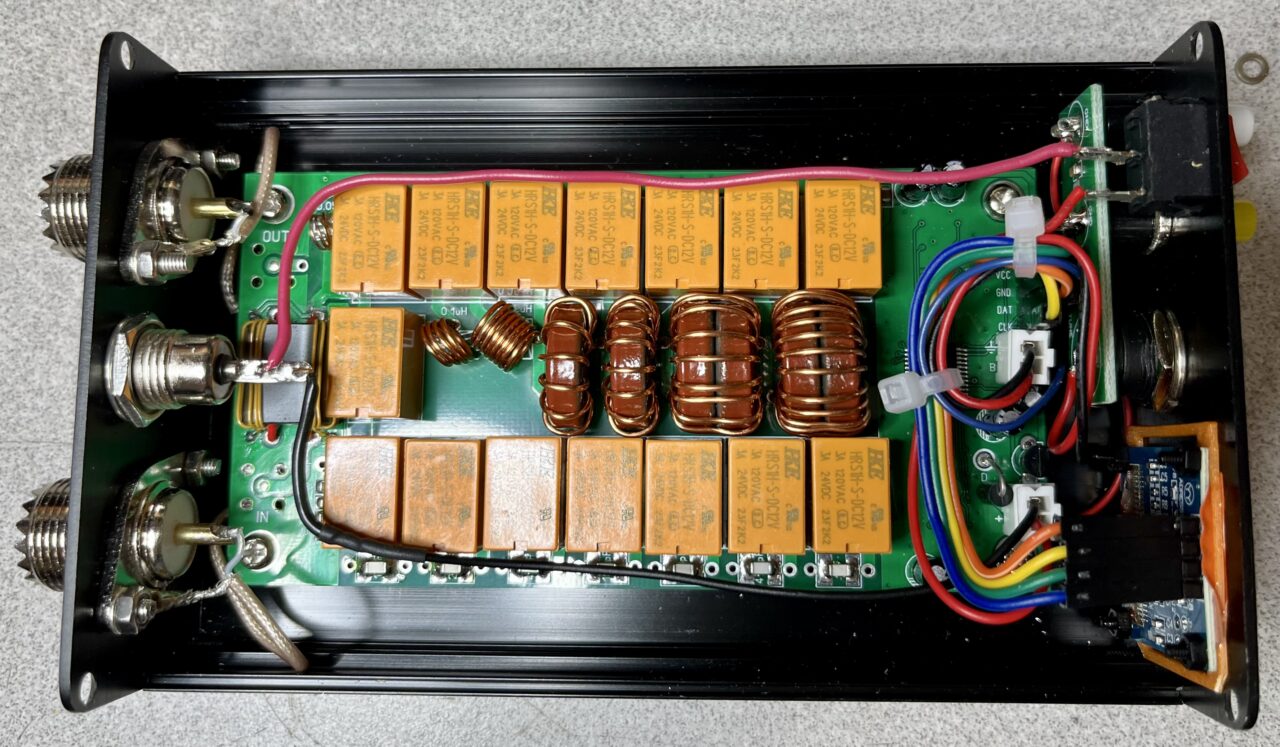
The enclosure kit comes with an OLED display board, switches for Bypass, Tune, and “Auto”. There were no standoffs for the OLED display, just a little cutout for where the connector pins protrude on the circuit board. I designed a spacer using Sketchup and printed it on my 3D printer. The pushbuttons have a small circuit board that you need to install. The Auto and Tune buttons connect to very tiny pads on the underside of the main board. I’m not sure why they didn’t provide through-hole or pin connectors for those as well.
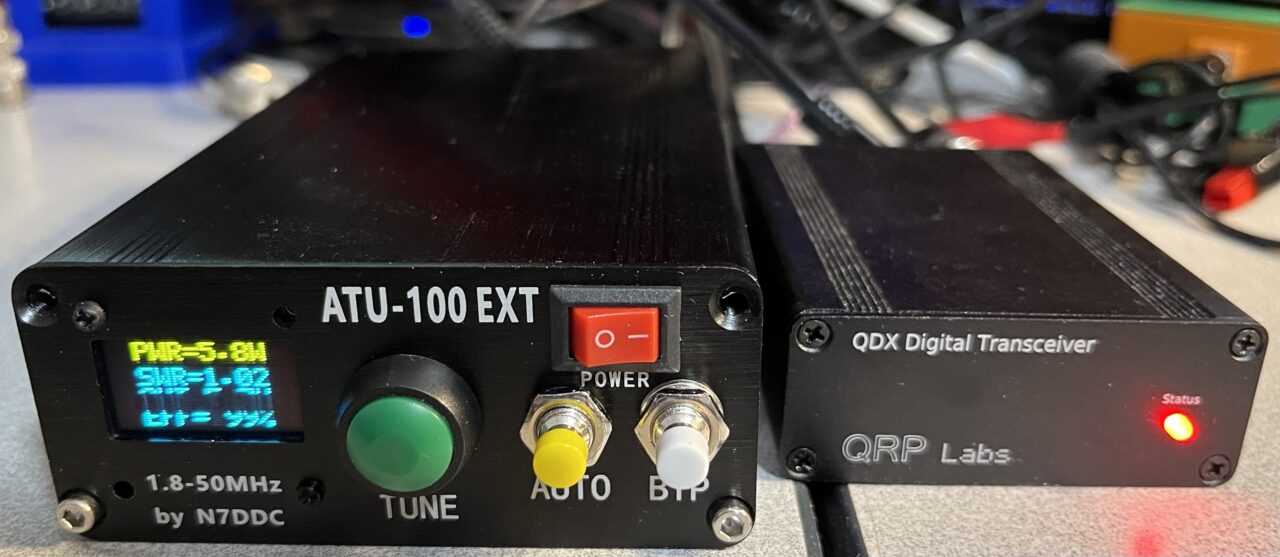
I had to remove the SMA connectors that I had installed previously in order to use the SO239 connectors provided with the enclosure kit. To do this required significant heat. Using my rework hot air gun, I was able to remove both of them cleanly. I used a small section of RG-316 M-17 coax to connect the coax connectors. Others have simply used short lengths of solid copper wire.
I buttoned up the enclosure and gave it a test. I was able to tune my 40 meter Inverted V on 20 meters and make some contacts. I also made some 80 meter contacts using the same antenna through this tuner. The output power reading was reasonably accurate. There is also an efficiency reading on the display. All in all, a pretty good little tuner.
Turns out there has been a LOT of discussion about this design on the Internet. There is even a Groups.Io group dedicated to it! There are also a number of YouTube videos about building and using this tuner. Critics say the tuner has design flaws, but it does what I need it to do and I’m very happy with it!
Leave a Reply