My Brother Dana, K6NR, needed a CW oscillator for an upcoming presentation on Morse Code. I didn’t have a code practice oscillator, but I have plenty of PARTS! So I set out to build one. I Googled for Code Practice Oscillator Schematics to get some ideas and found this design. It’s a clever project that kids would have a lot of fun with. You tape the schematic down to a pine board, and then build the circuit it using flat head wood screws for interconnects instead of using solder!
I built it on a tiny piece of perf board
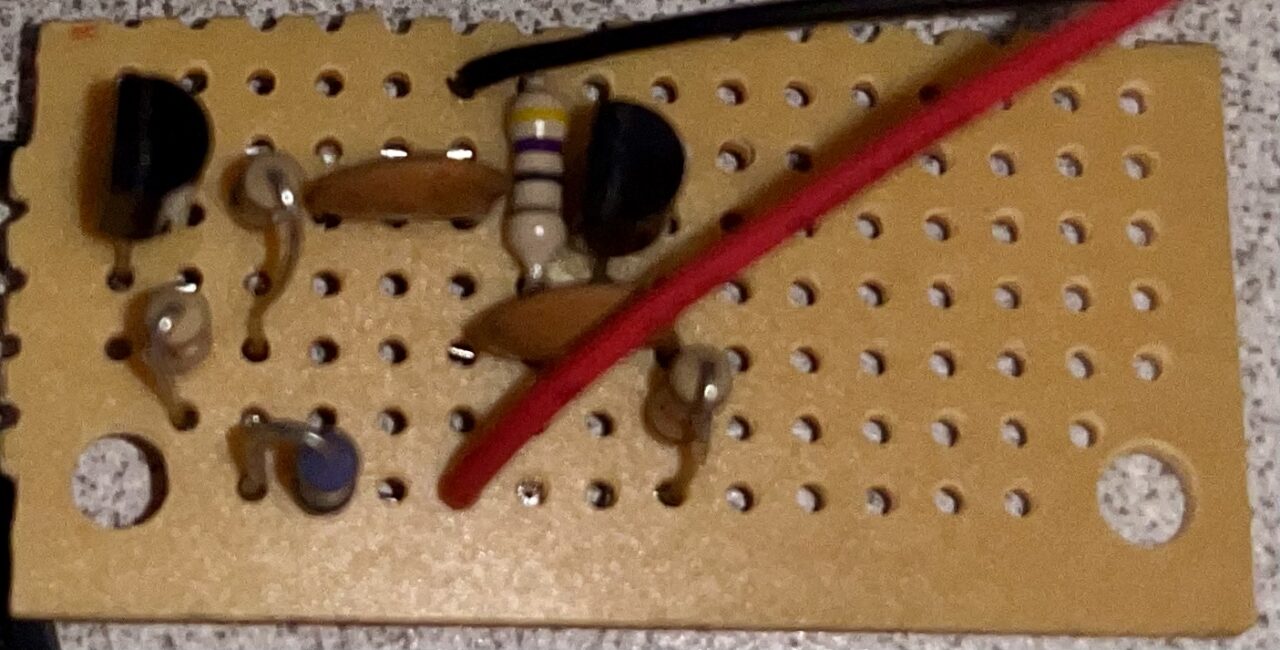
The amplitude was too low and the frequency was way too high. I could tweak the circuit but I thought there must be something more suitable for this project.
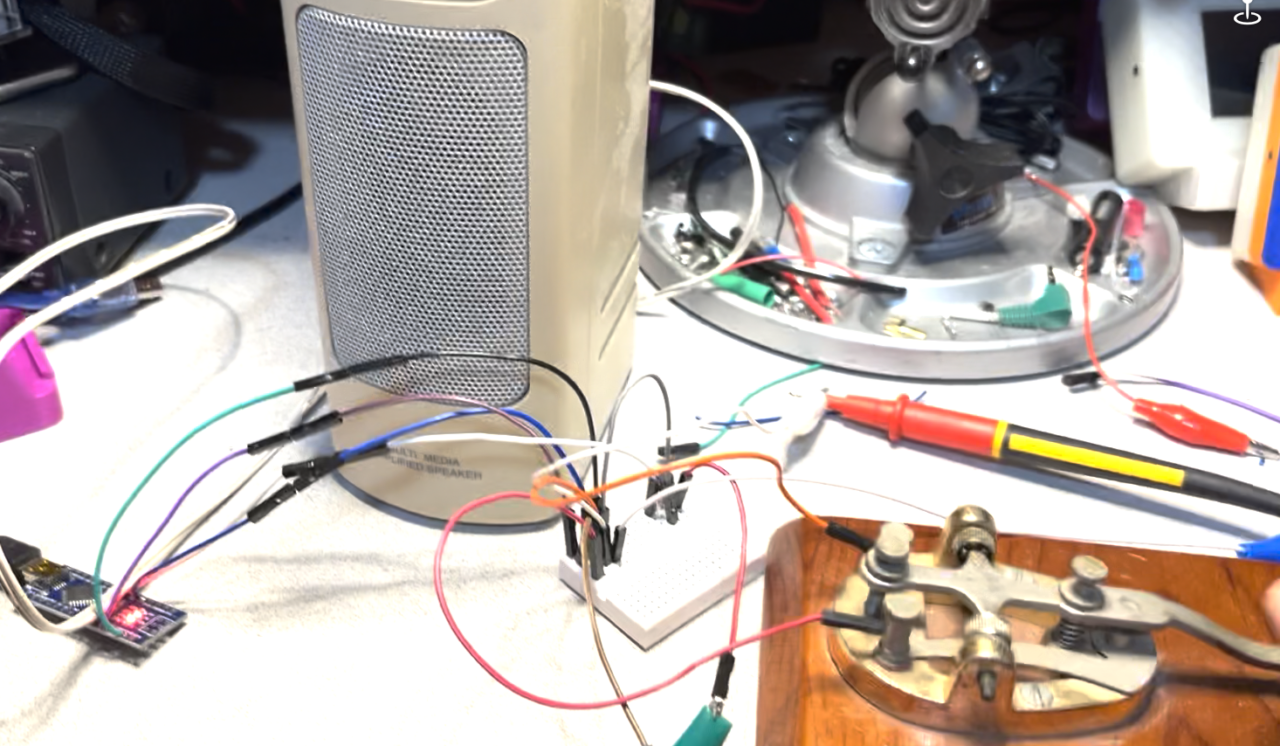
I found KM4NMP’s design that uses an Arduino microcontroller to create a tone when a corresponding input pin goes high. I got out an spare Arduino Uno and built the Key/Speaker “interface” circuit on a prototype board. It worked great but I have an old Mallory Sonalert beeper from a salvage emergency phone. I could use that with a simple circuit instead of using a microcontroller. Unfortunately, there’s no way to control the pitch! The frequency was just too high.
So, back to the Arduino project.
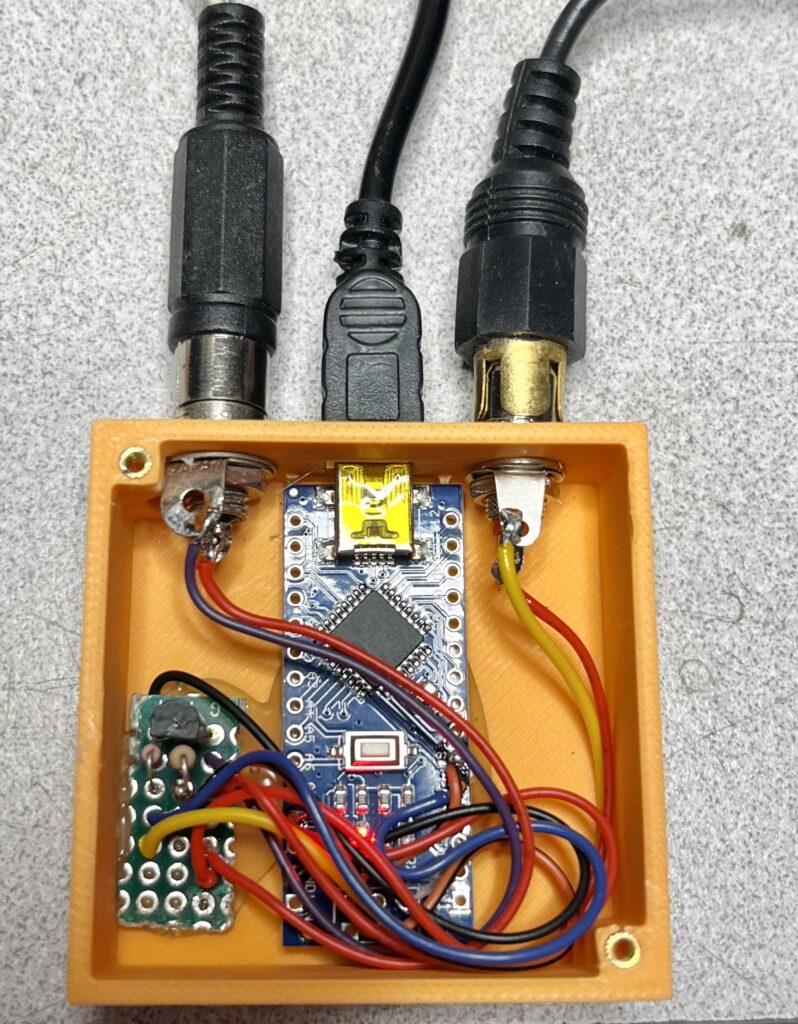
Once I built and tested the simple interface circuit (a pull-down resistor for the key which is “active high”, and a transistor buffer for the PWM output to the speaker, I was all set. I ditched the larger Arduino Uno for a much smaller “Nano” board.
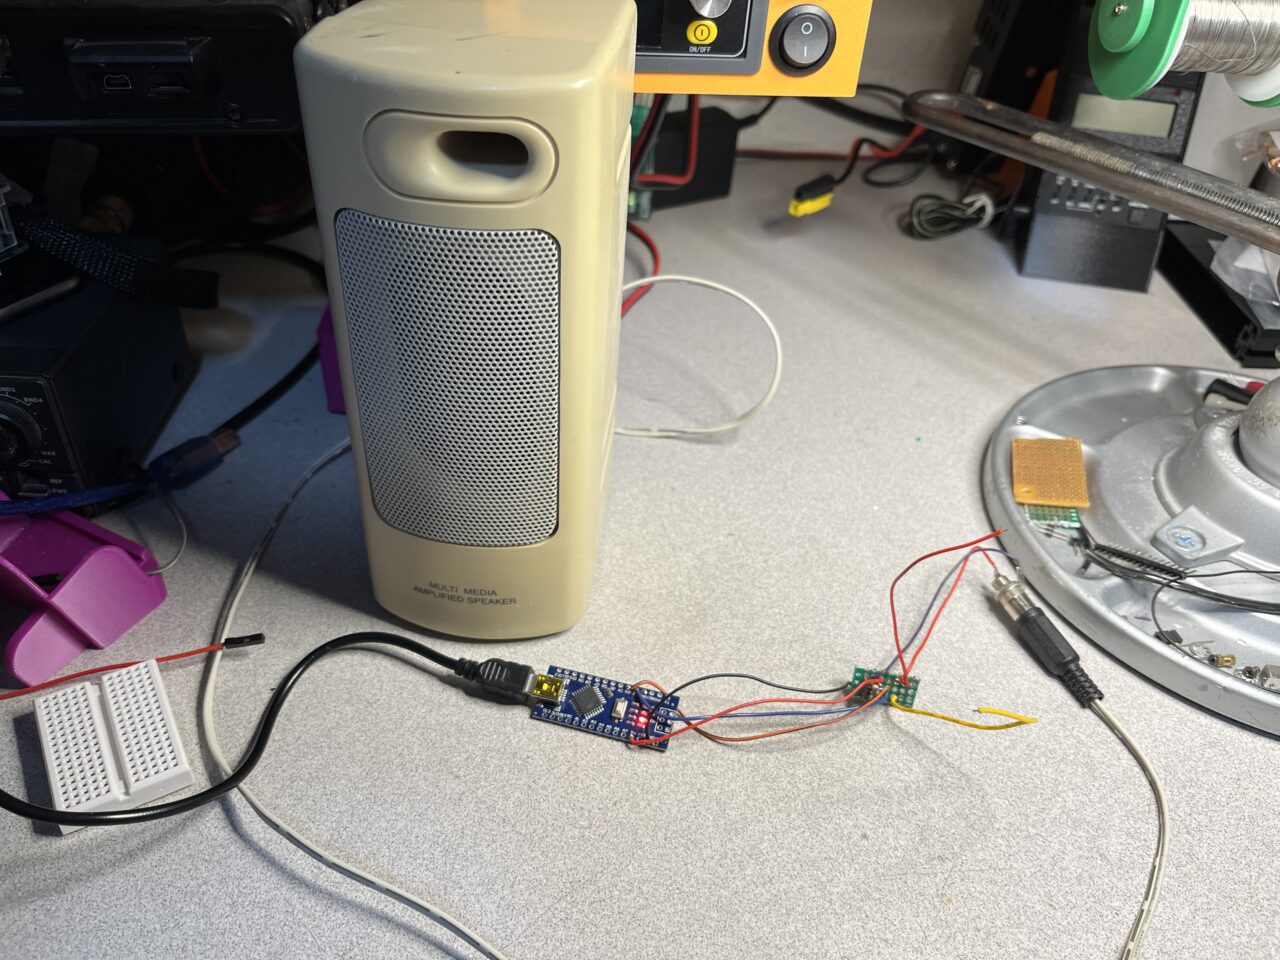
I rebuilt the simple interface circuit onto a tiny perf board and wired it directly to the (imitation) Arduino Nano board.
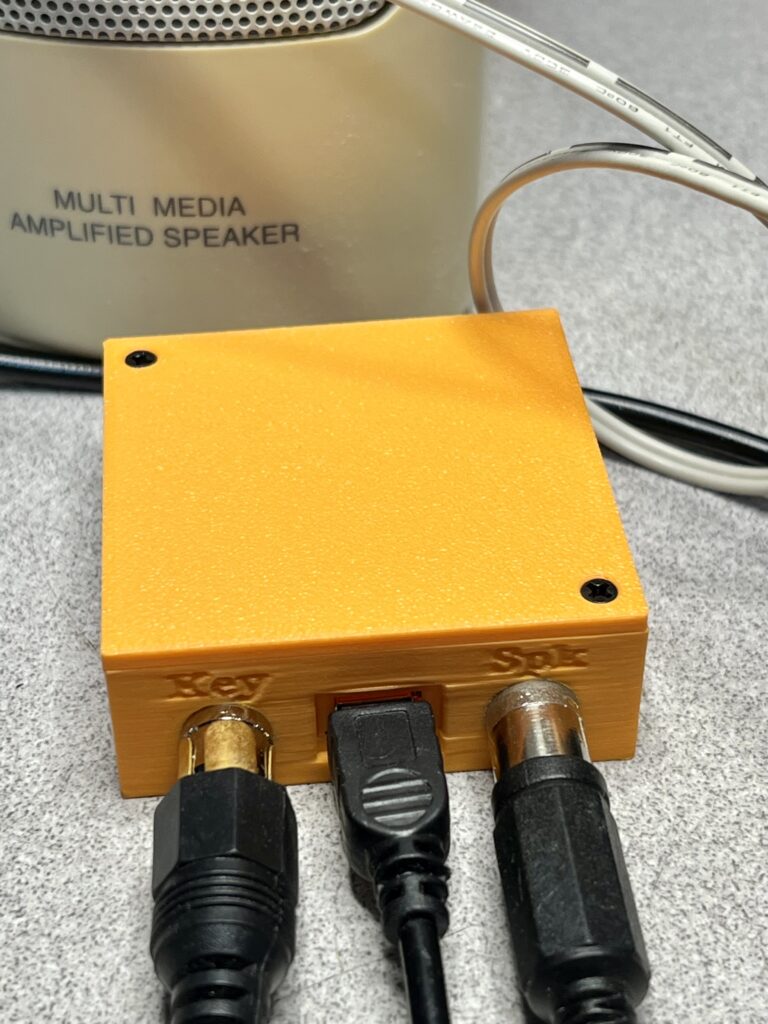
I then designed a 3D 50mm x 50mm enclosure for the entire project:
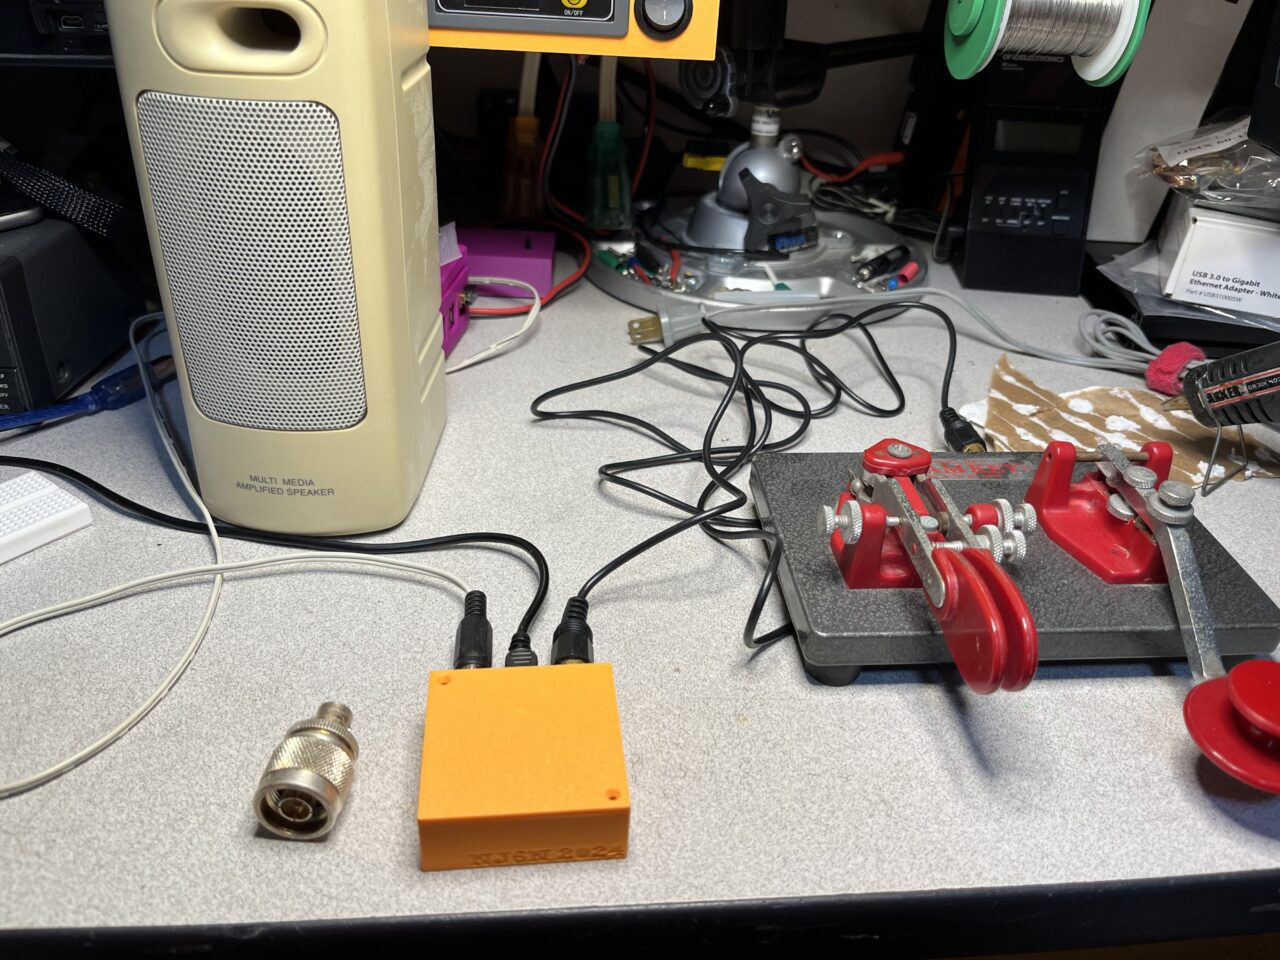
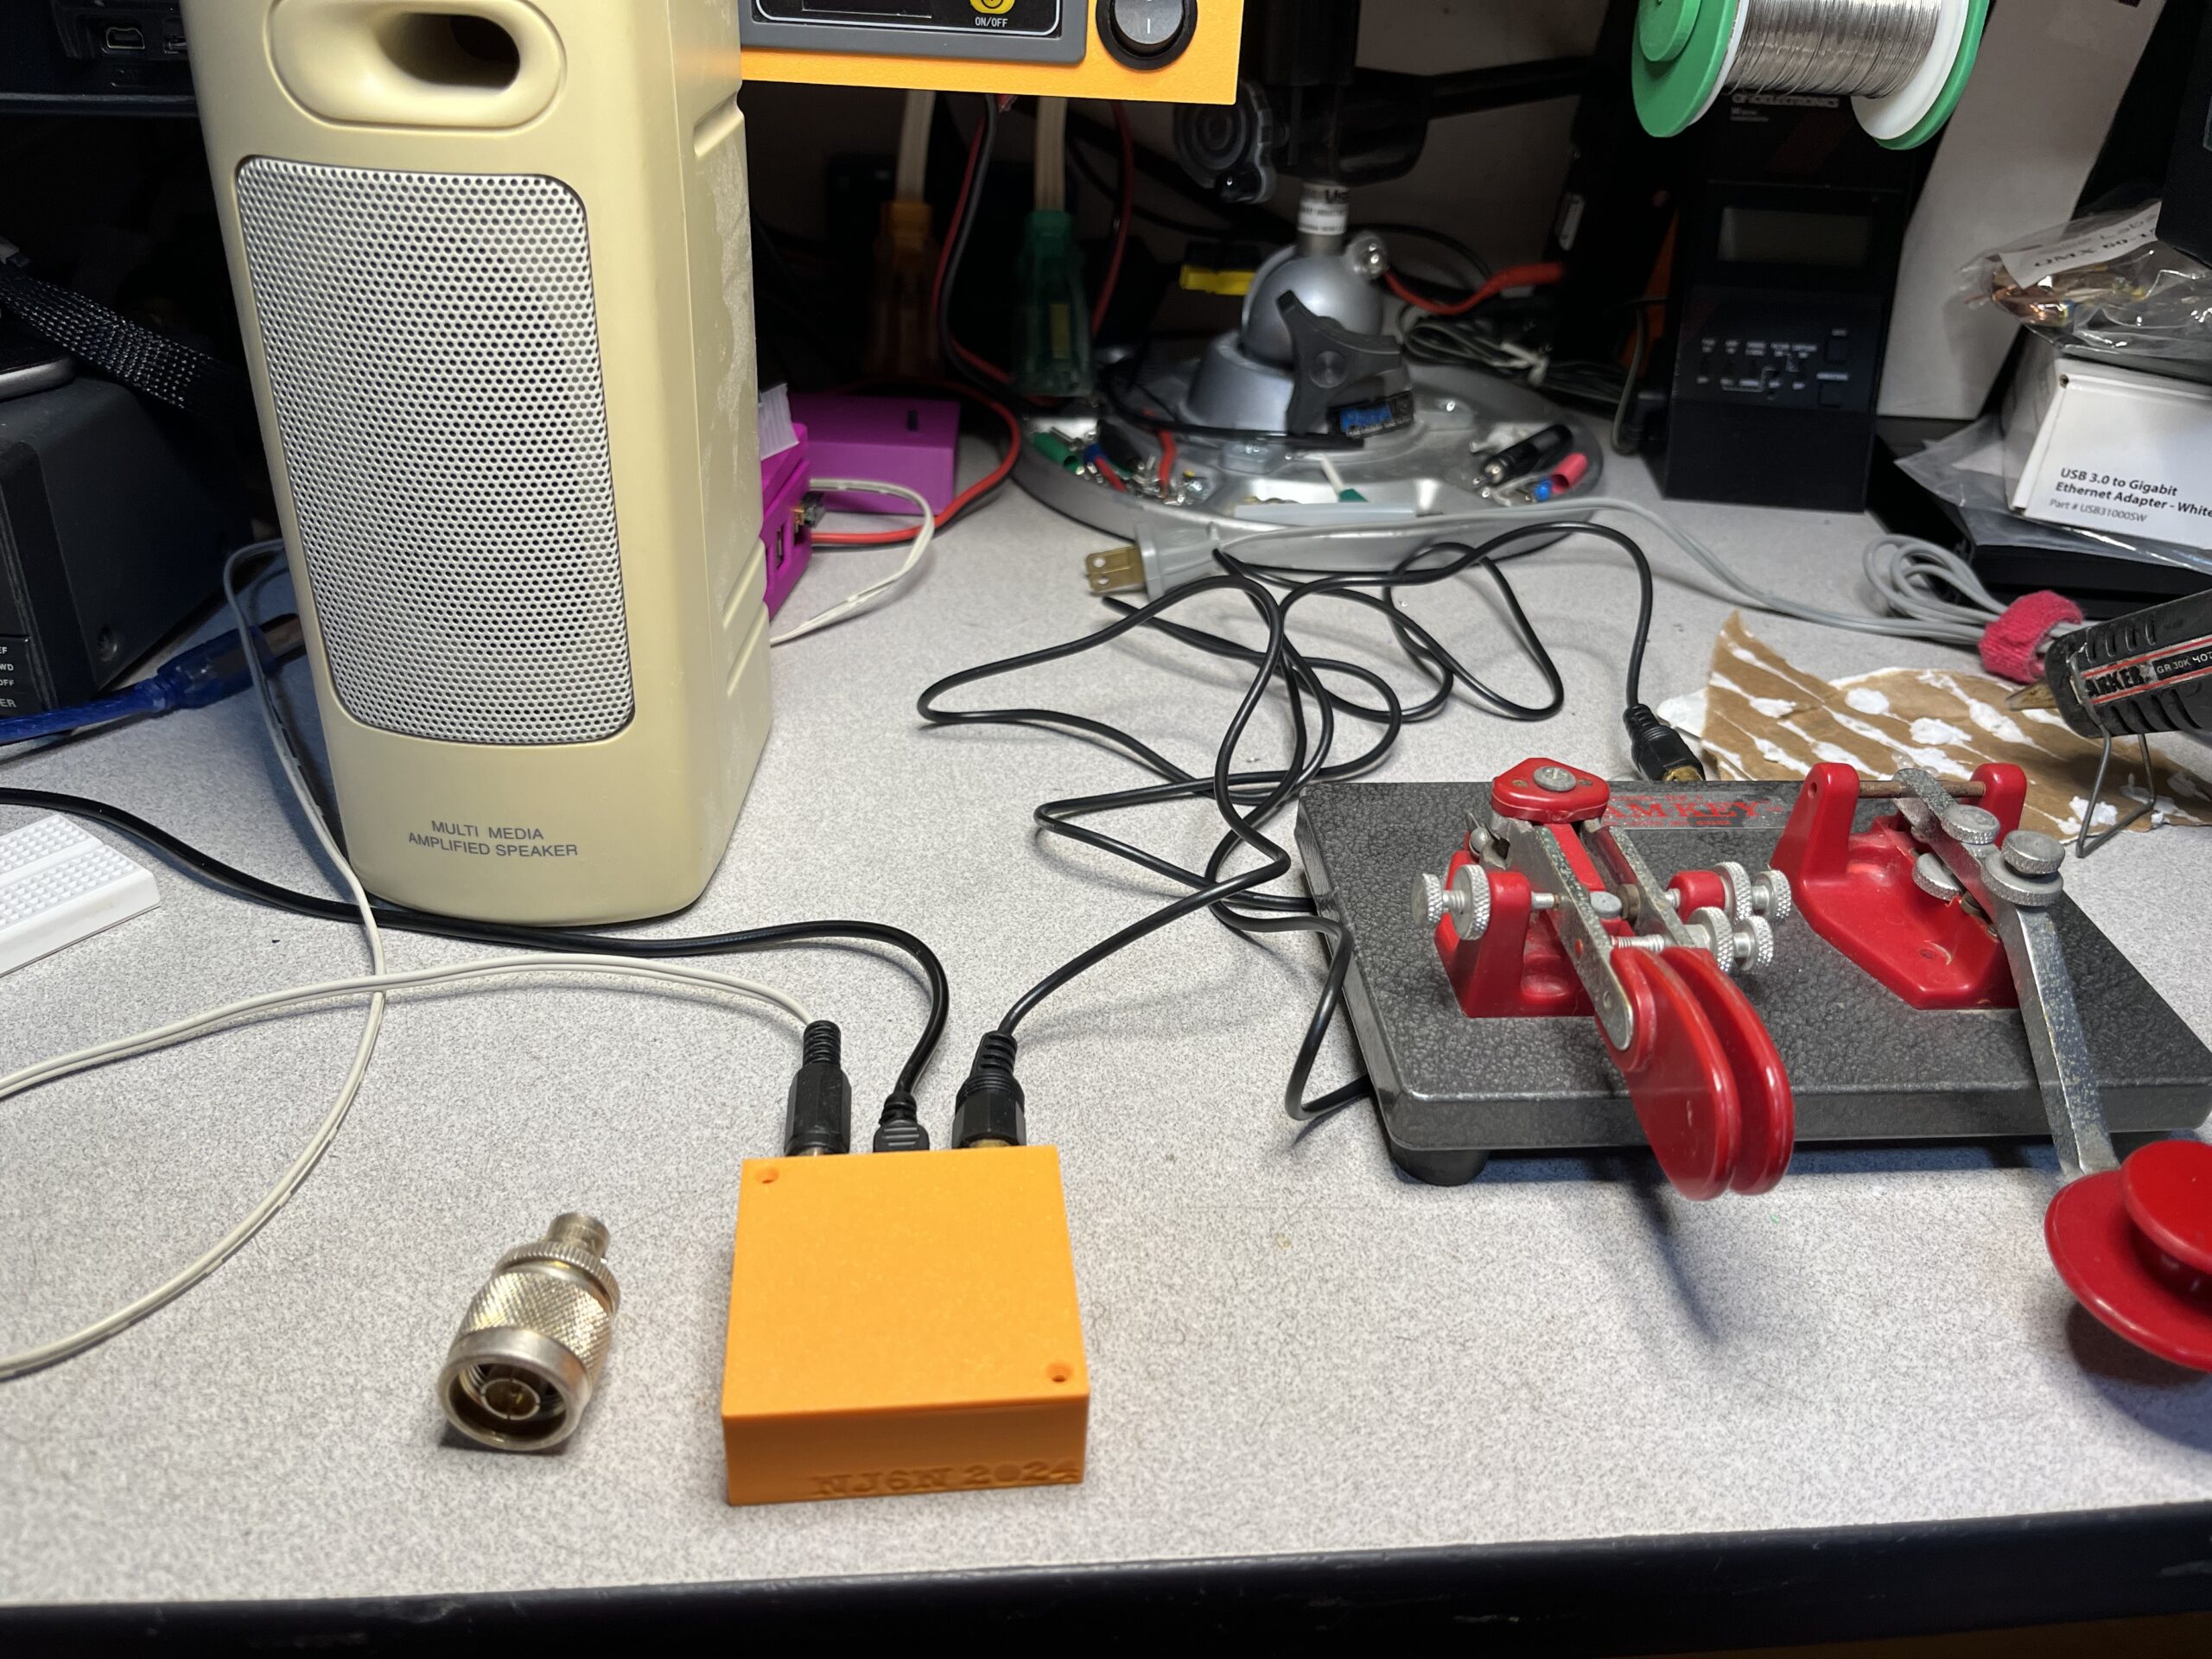
Here is the final product. A software controlled code practice oscillator
Leave a Reply