Background
I’ve built a few projects in the past using the Arduino platform. Arduino uses a variant of the C++ programming language which works well for microcontroller projects. I built my Ham Clock using a version of the Espressif ESP8266 from Adafruit called the “Feather HUZZAH” and became interested in this platform as well. The ESP8266 has onboard Bluetooth and Wifi! These are tiny but powerful little microcontrollers. Naturally when Raspberry Pi came out with the Pico board, I wanted to check them out. I bought one some time ago but never did get around to doing anything with it. Recently during a SOARA Saturday Technet, I heard WA6ED talking about the Raspberry Pi Pico “W” board. W?! I had not heard the news that there was a Wifi version of this board available. I bought a couple of boards through Amazon, at a premium. They are supposed to be $6 but two cost me $25. At any rate, I set out to see what I could do with them.
Initial Testing
I found some C++ code that would create a web server and allow control over the onboard LED. This worked fine. I was curious about how to add an OLED display so that I could build a microcontroller with local and remote control over the web. I soldered pins onto the PicoW board so that I could use a standard breadboard for wiring and testing.
Installing MicroPython
I switched to using MicroPython by booting the PicoW in “bootloader mode” (you hold down a button while powering it over USB). This causes a file system partition to be mountable on Linux (Or Windows, etc.). I copied the latest Micropython “UF2” image over to the mounted partition and rebooted. At this point, you can copy micropython (uP) scripts to the board and run them. If the script is named “main.py”, it will run at startup.

Driving an OLED Display
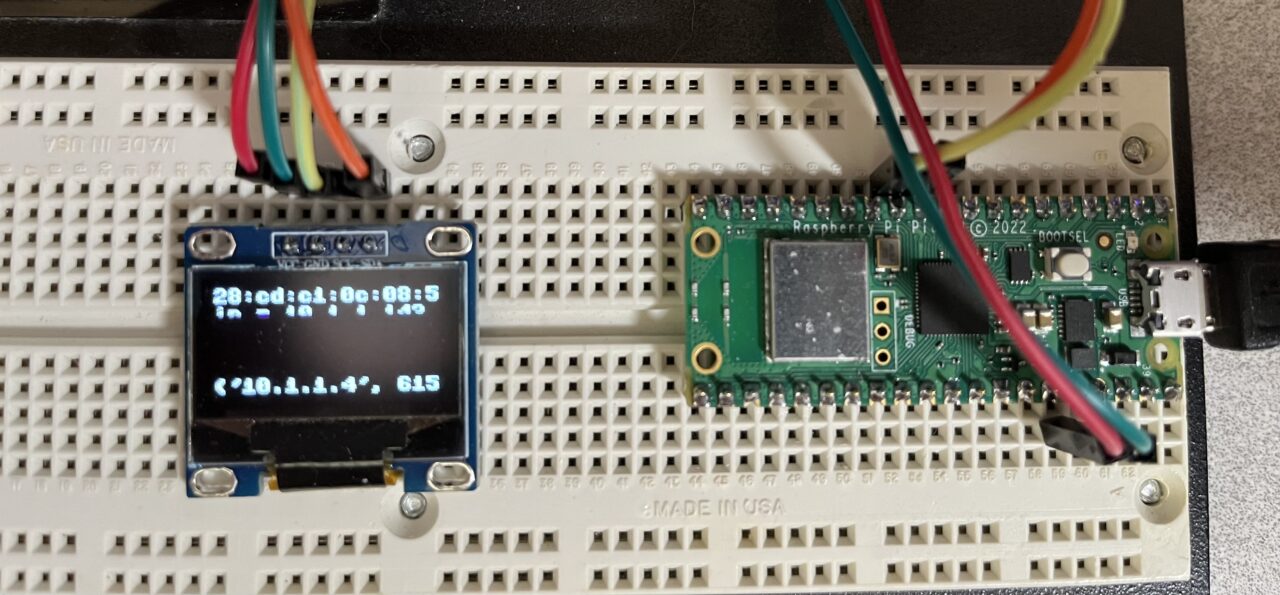
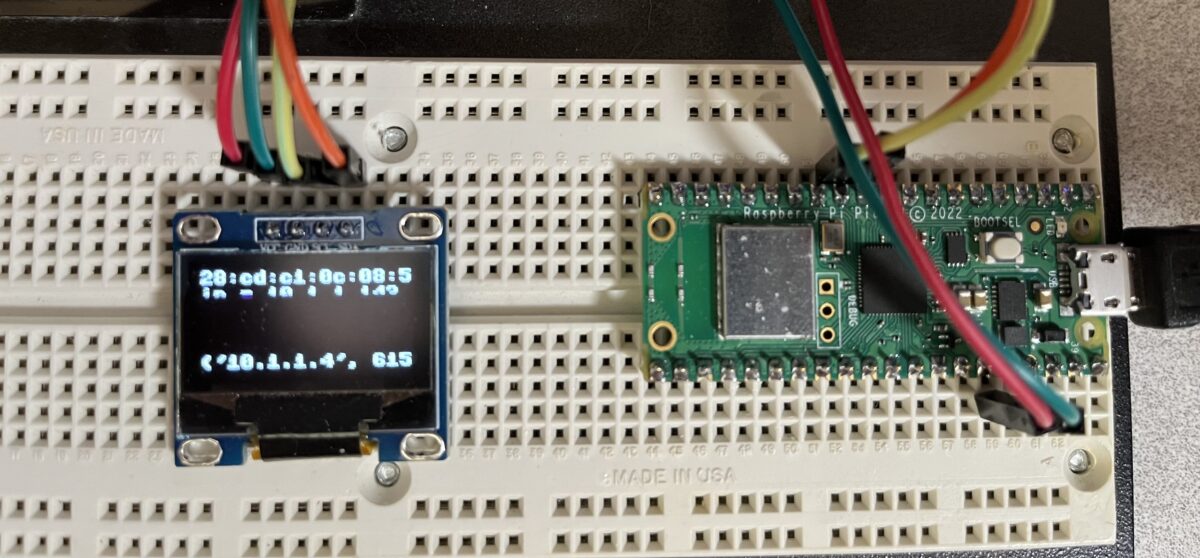
Using “rshell” to communicate with the PicoW over USB, I copied a driver library for the “ssd1306” OLED display to /pyboard/., wired up SCL/SDA/VCC/GND pins from the OLED to the PicoW’s I2C (Intra-Integrated Circuit, pronounced “I-Squared-See”) pins and wrote a simple test script to try out the OLED. Once I got that to work, I added status information on the OLED display for the Simple LED on/off web server. Now I could see my MAC address, IP address, and the IP address of the connected user. The OLED is designed such that the display is persistent. Unless you set all the pixels to (0) or power cycle it, it will continue to display what was sent to it. If you want to wipe out only part of the screen, you have to draw a rectangle over that section carefully!
Applications
One of the applications I’ve built for Raspberry Pi is a sprinkler controller. In my current design, the Raspberry Pi does all the work. It maintains the schedule and send the commands to the GPIO pins to activate the relays. Using the PicoW, i could abstract the activation of relays from the control logic. This way the schedule could be maintained on another computer that would talk to the PicoW over the network and tell it what to do. A local OLED display could display what was going on, and local button control could be added for manually activating the sprinkler relays. Another thing I’d like to do is replace the relays with Triacs to make the solution much smaller and more efficient. Relay contacts tend to fail after a while.
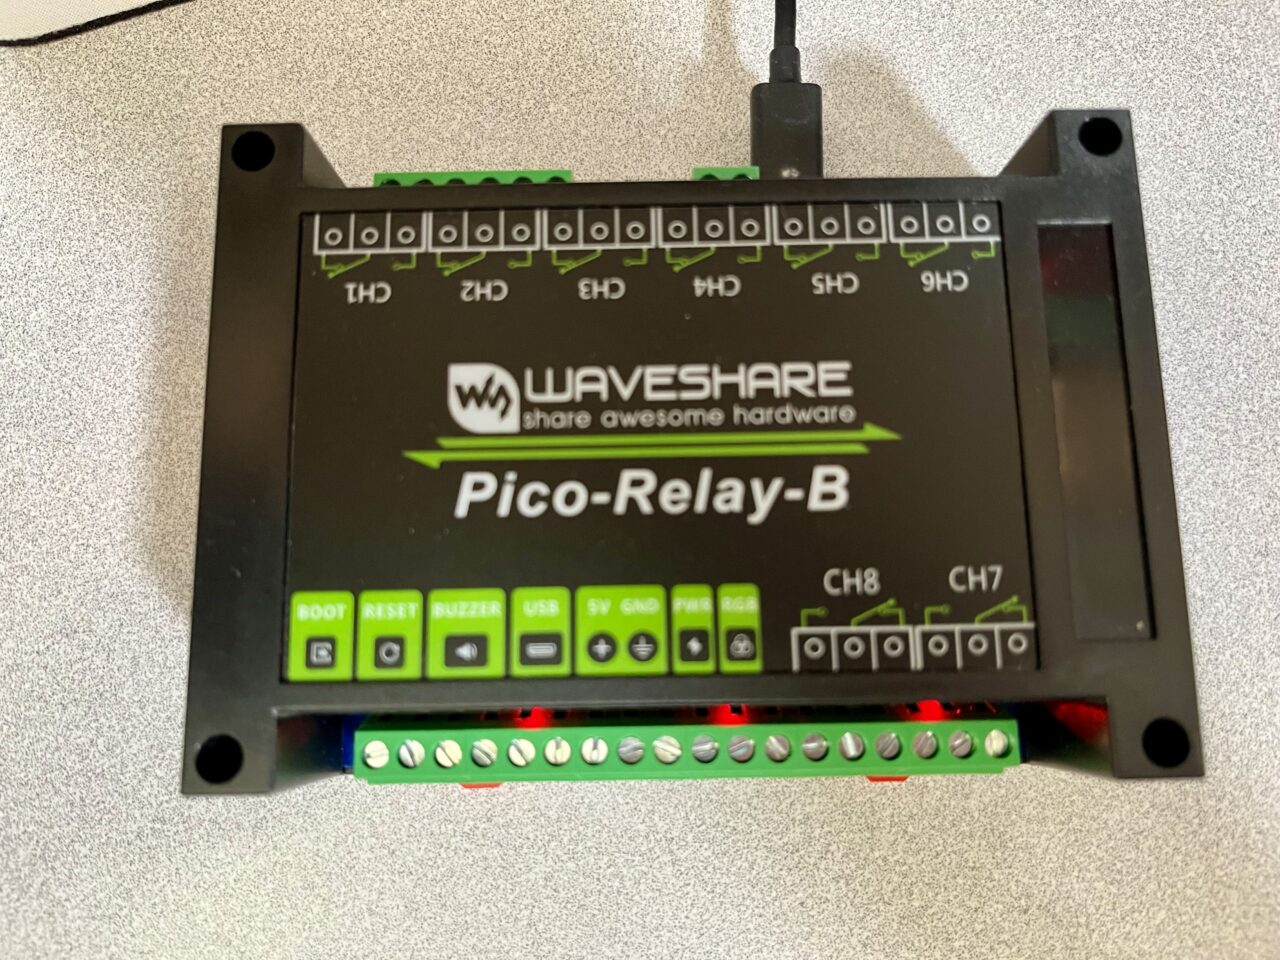
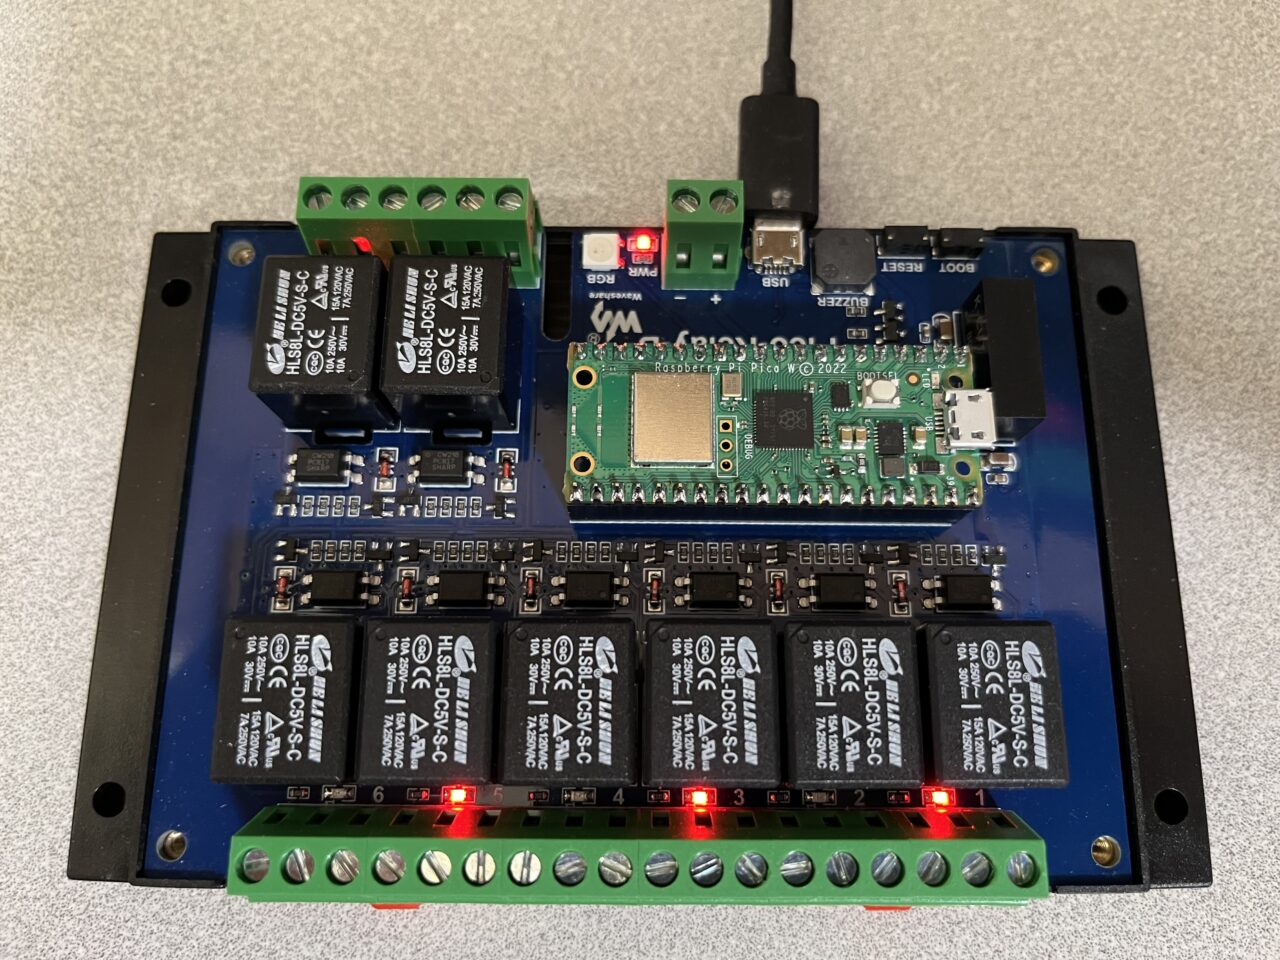
Looking around for PicoW on the web, I found a clever relay board called the “Pico-Relay-B” from “Waveshare” that incorporates a Pico or PicoW board. I ordered one and began experimenting with it as soon as it arrived!
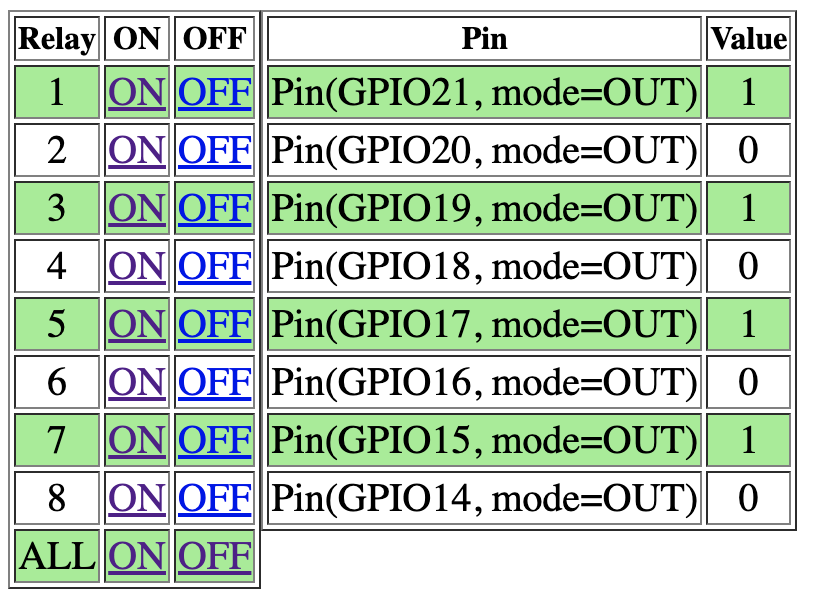
Using the plethora of examples on the web, I wrote a web based control applications that allows you to turn each relay on or off, or turn them ALL on or off. I continue to refactor my code to make it more efficient.
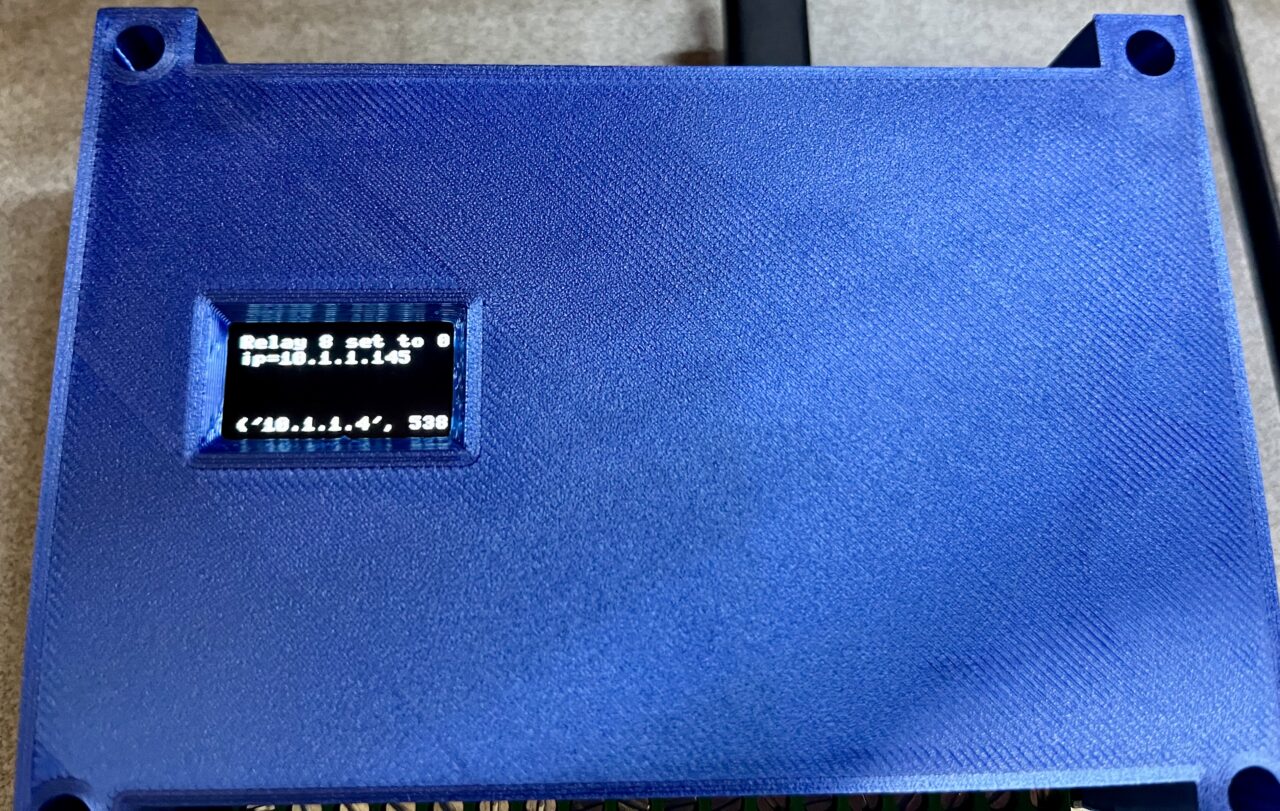
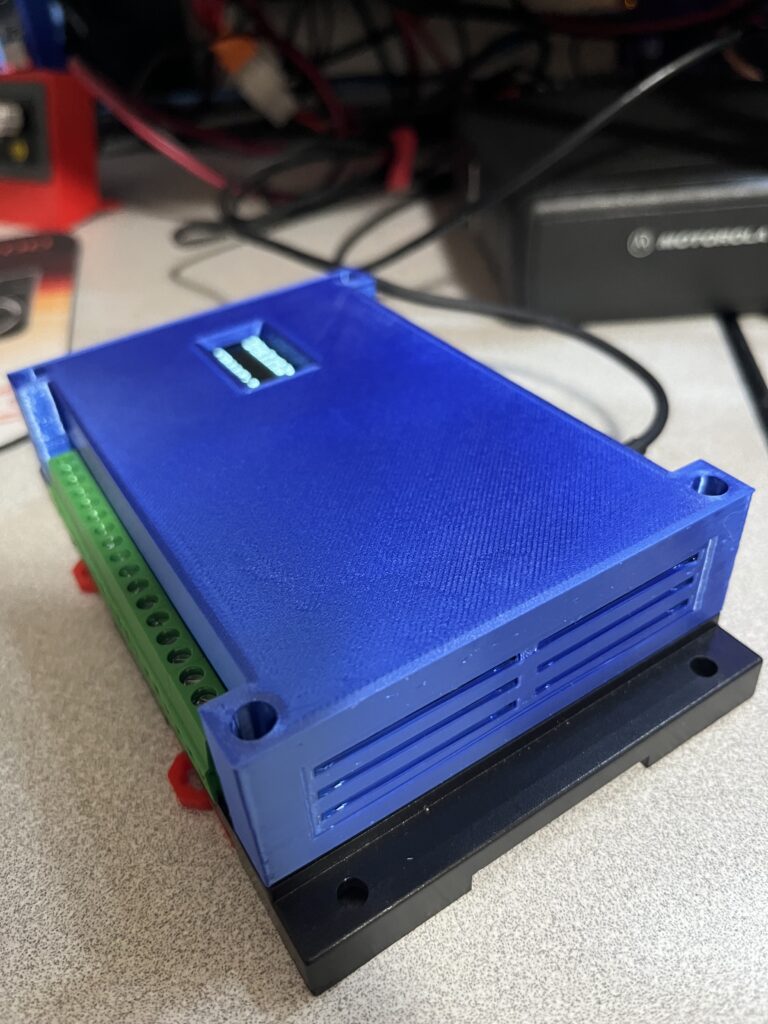
The Pico-Relay-B product is really useful, however, there is no place to add an OLED display. So, I designed a new cover that incorporated a place to install a 0.96″ OLED display. In the future, I may also want to add some momentary contact switches to add control capability.
Leave a Reply