OpenWebRX is a software defined radio (SDR) web application that enables users to listen to analog and digital signals received by an attached SDR device through their web browser. As the name implies, it is a receive only application. I had recently acquired a great single board computer to run this on. OpenWebRX can demodulate/decode FM, SSB, AM and many different digital signals straight away. Adding an AMBE device enables it to decode AMBE/IMBE based protocols used by D-STAR, DMR, Fusion, and NXDN. I purchased a DVMEGA DVstick 30 to do this.
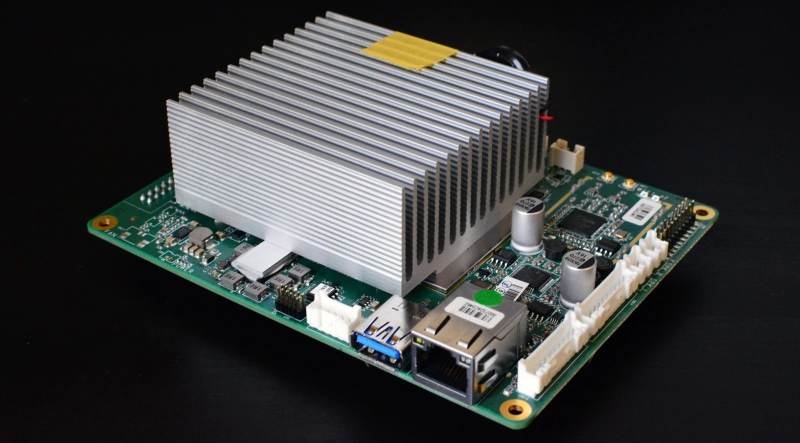
I previously purchased several “AtomicPi” computers that are sold through Amazon by Digital Loggers A review of the board is available on HACKADAY
These single board computers feature an Intel® AtomTM x5-Z8350 Processor (2M Cache, up to 1.92 GHz) with 2GB DDR3L-1600 memory, HDMI, WiFi, 100MB Ethernet, and more. Complete specifications can be found here. The board requires a solid 5V 10watt power supply. Power is applied via a supplied breakout board or through a 26 pin DIP connector on the bottom of the board. I opted to solder wires directly to top of the 26 pin connector.
The AtomicPi comes pre-loaded with an older version of the Ubuntu Linux operating system. I wanted to use this computer to run OpenwebRX which requires the latest version of Debian 11 (Bullseye) or Ubuntu 22.04. Digital Loggers provides precompiled versions of various operating systems including Debian 10 (Buster) so I started with that. I copied the image to an SD card using dd on Mac OS/X and booted the AtomicPi. First, I connected a serial console cable using minicom on my Mac to the UART JST connector so that I could see what was going on. It booted the SDCard, overriding the supplied OS on the internal 16GB eMMC flash storage without me having to configure the BIOS – great!
Once I was up and running with Debian 10, I had to set up the system including adding my user entry, adding to the “sudo” group for root access, and configuring networking through the serial console.
useradd -c "User Name" -m userid
usermod -a -G sudo userid
Ethernet is configured through the following configuration file in /etc/network/interfaces.d/enp1s0
auto enp1s0
allow-hotplug enp1s0
iface enp1s0 inet dhcp
Restarting the networking service enables the ethernet interface
systemctl restart networking
To bring the O/S up to date, I ran the usual apt update && apt -y upgrade commands. I also installed dialog which is used by apt.
sudo -i
apt -y install dialog
apt update
apt -y upgrade --without-new-pkgs
apt -y full-upgrade
reboot
Once I had the operating system updated, I installed the locales and tzdata packages and set the locale to UTF8
sudo apt -y install locales tzdata
sudo dpkg-reconfigure locales
Once I was up to date and the system was working, I upgraded to Debian Bullseye by replacing “buster” with “bullseye” in /etc/apt/sources.list using a text editor and replacing the keyword buster/updates with bullseye-security. Here is what the new file looks like:
deb http://http.debian.net/debian bullseye main contrib non-free
deb-src http://http.debian.net/debian bullseye main contrib non-free
deb http://security.debian.org/debian-security/ bullseye-security main
deb-src http://security.debian.org/debian-security/ bullseye-security main
deb http://http.debian.net/debian bullseye-updates main contrib non-free
deb-src http://http.debian.net/debian bullseye-updates main contrib non-free
Once the sources.list file was updated, I ran the usual update and upgrade commands again from a root shell:
apt update && apt -y upgrade
I had to reinstall some of the non default packages I had previously installed on Buster, under Bullseye. These showed up as “held back” packages when doing the upgrade in the previous step. Once I was done, there were no more packages that required update. Now on to installing OpenWebRX.
OpenWebRX is available through multiple developers. I am already familiar with OpenWebRX and wanted to check out OpenWebRX+
Installation steps are outlined on the paged linked above:
apt -y install wget
wget -O - https://luarvique.github.io/ppa/openwebrx-plus.gpg | gpg --dearmor -o /etc/apt/trusted.gpg.d/openwebrx-plus.gpg
echo "deb [signed-by=/etc/apt/trusted.gpg.d/openwebrx-plus.gpg] https://luarvique.github.io/ppa/debian ./" > /etc/apt/sources.list.d/openwebrx-plus.list
apt update
wget -O - https://repo.openwebrx.de/debian/key.gpg.txt | gpg --dearmor -o /usr/share/keyrings/openwebrx.gpg
echo "deb [signed-by=/usr/share/keyrings/openwebrx.gpg] https://repo.openwebrx.de/debian/ bullseye main" > /etc/apt/sources.list.d/openwebrx.list
apt update
apt -y install openwebrx
systemctl enable openwebrx
systemctl start openwebrx
Note: The installation will ask you to enter a password for the admin account used to configure openwebrx.
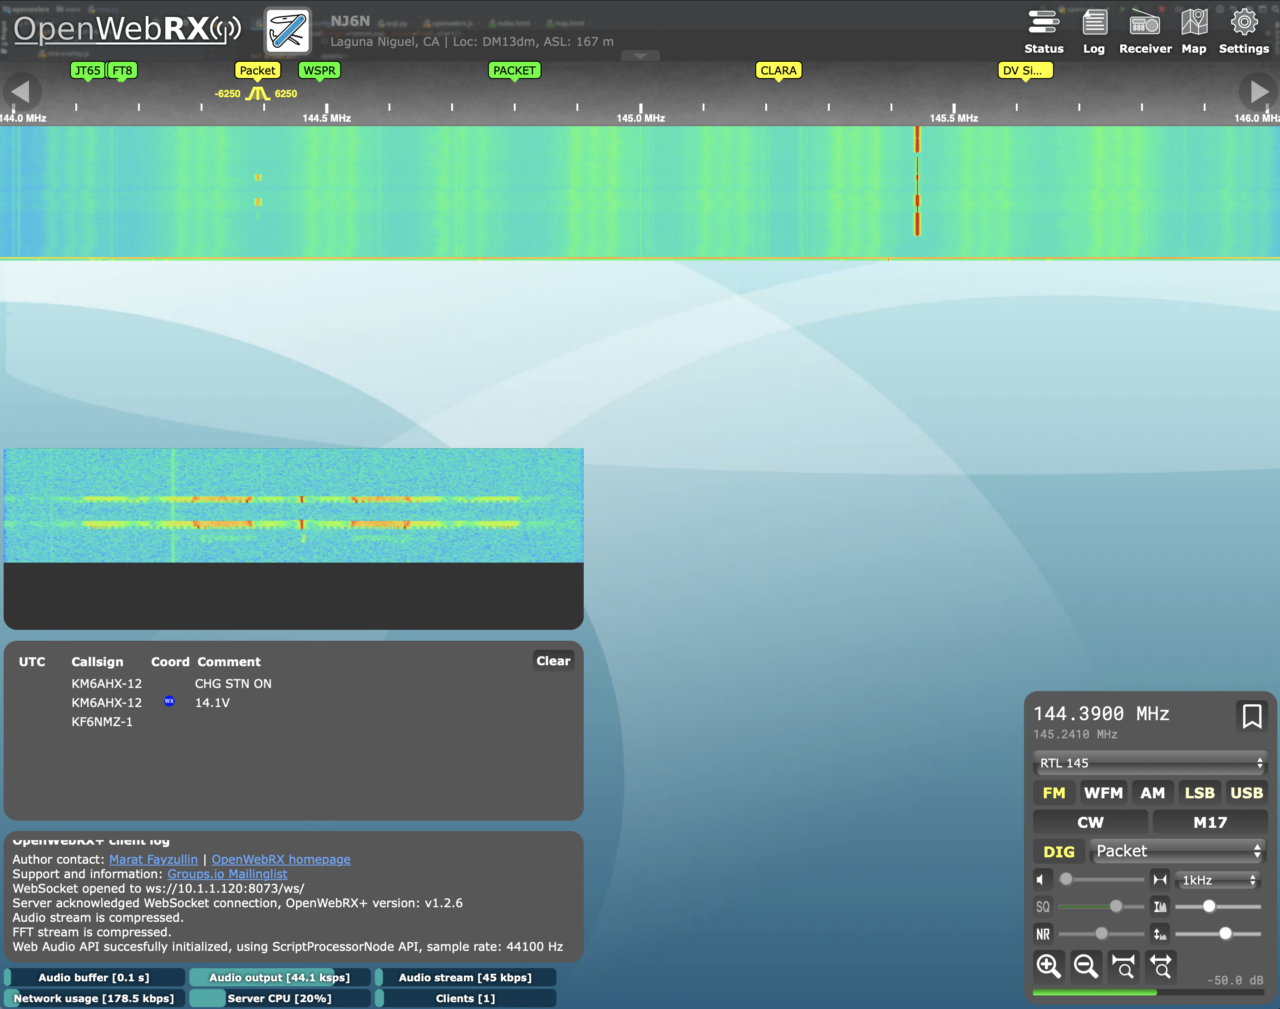
Navigating to http://hostip:8073 brings you to the OpenWebRX receiver page where hostip is the IP address of your Debian linux system. Here is what my main screen looks like after configuring the General settings including my location, Google Map API, etc.
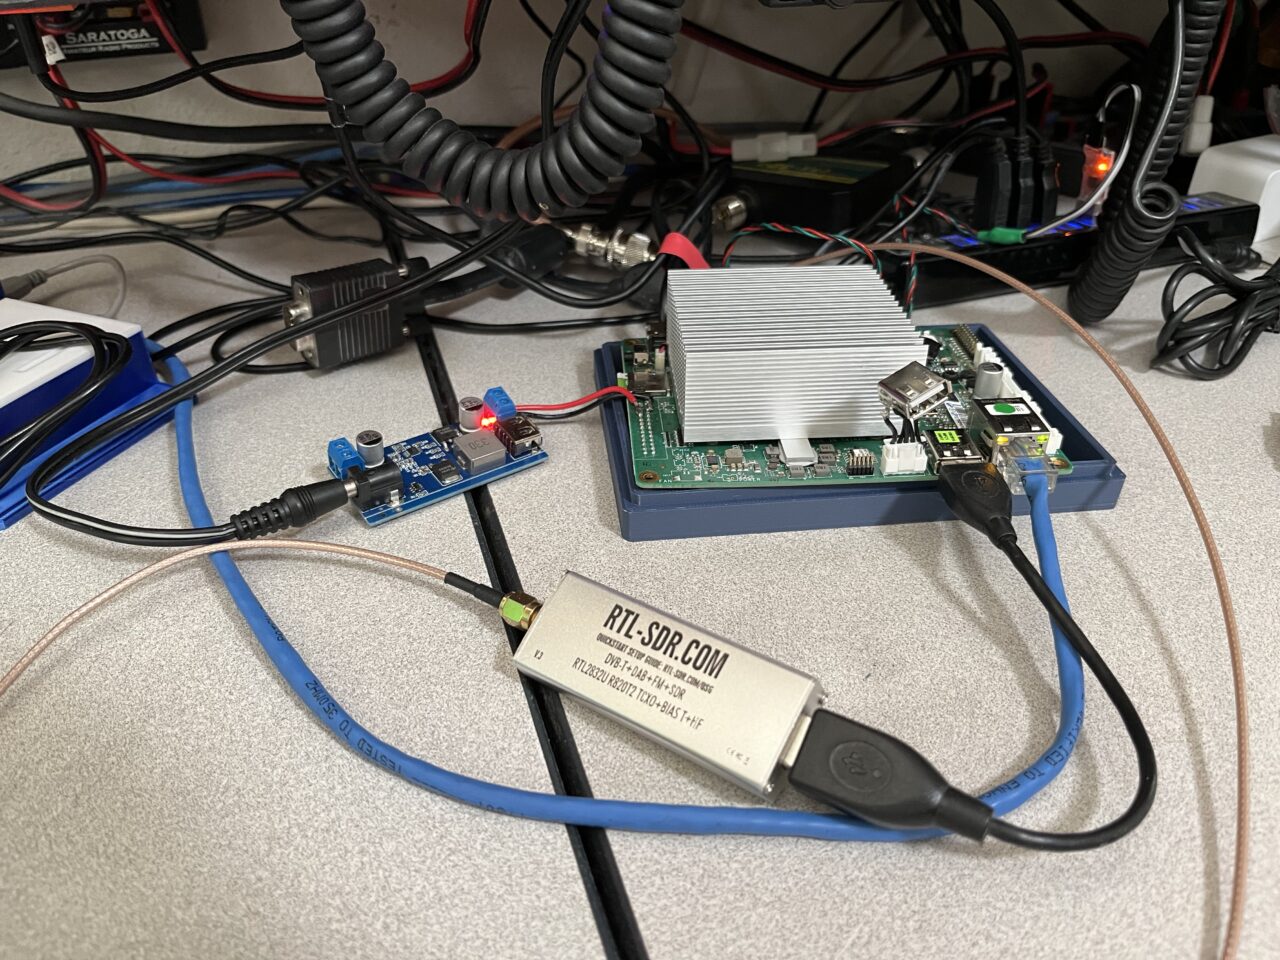
Here are the components for my initial configuration:
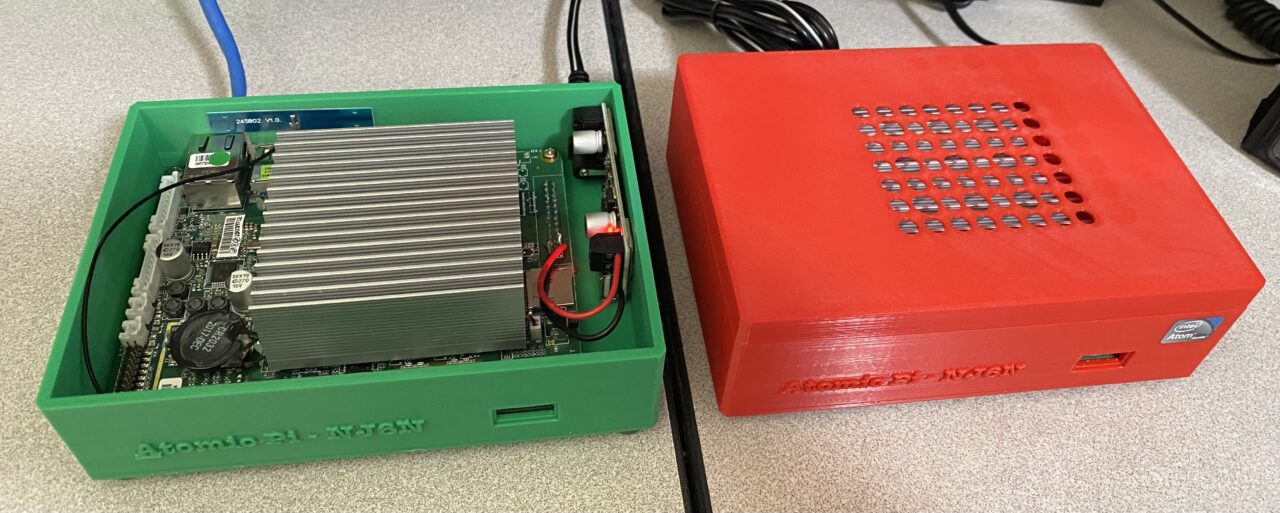
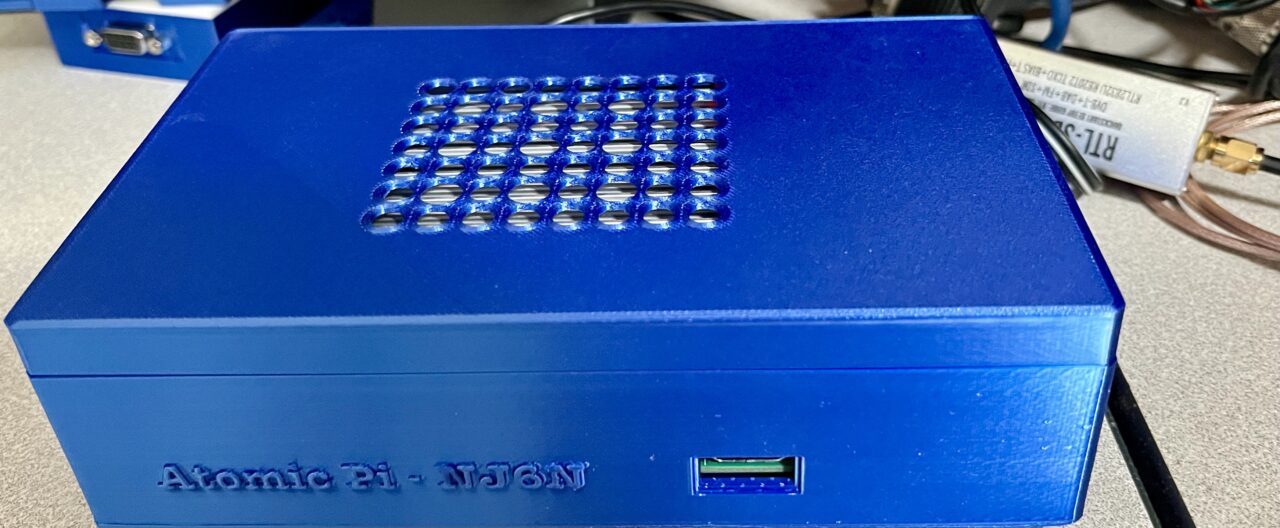
I designed a case for the AtomicPi and required voltage regulator.
Admin commands
openwebrx admin adduser [username]            Add a new user
openwebrx admin removeuser [username]         Remove an existing user
openwebrx admin resetpassword [username]      Reset a user's password
openwebrx admin disableuser [username]        Disable a user
openwebrx admin enableuser [username]         Enable a user
openwebrx admin listusers                     List enabled users
openwebrx admin hasuser                       Test if a user exists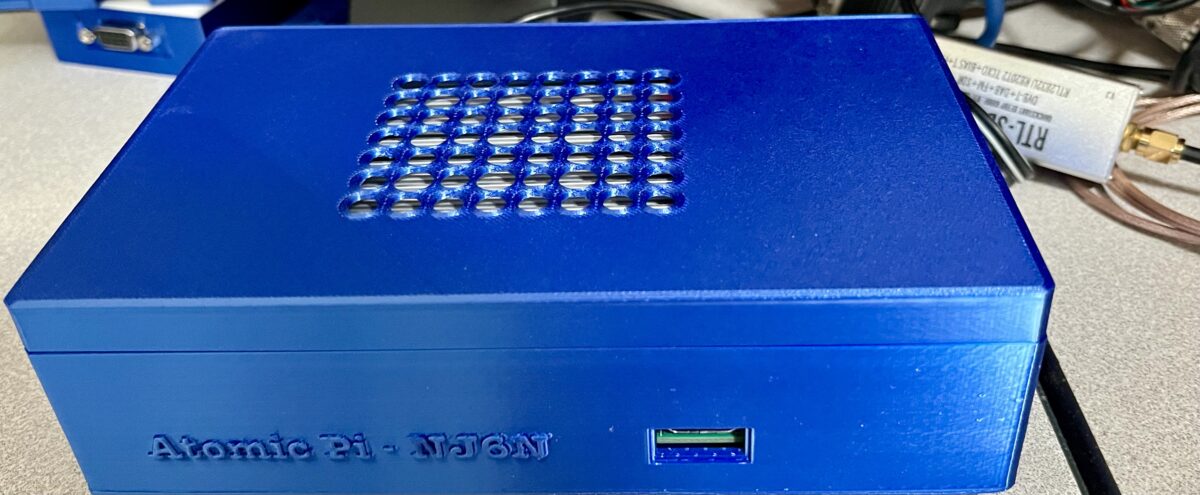
Leave a Reply