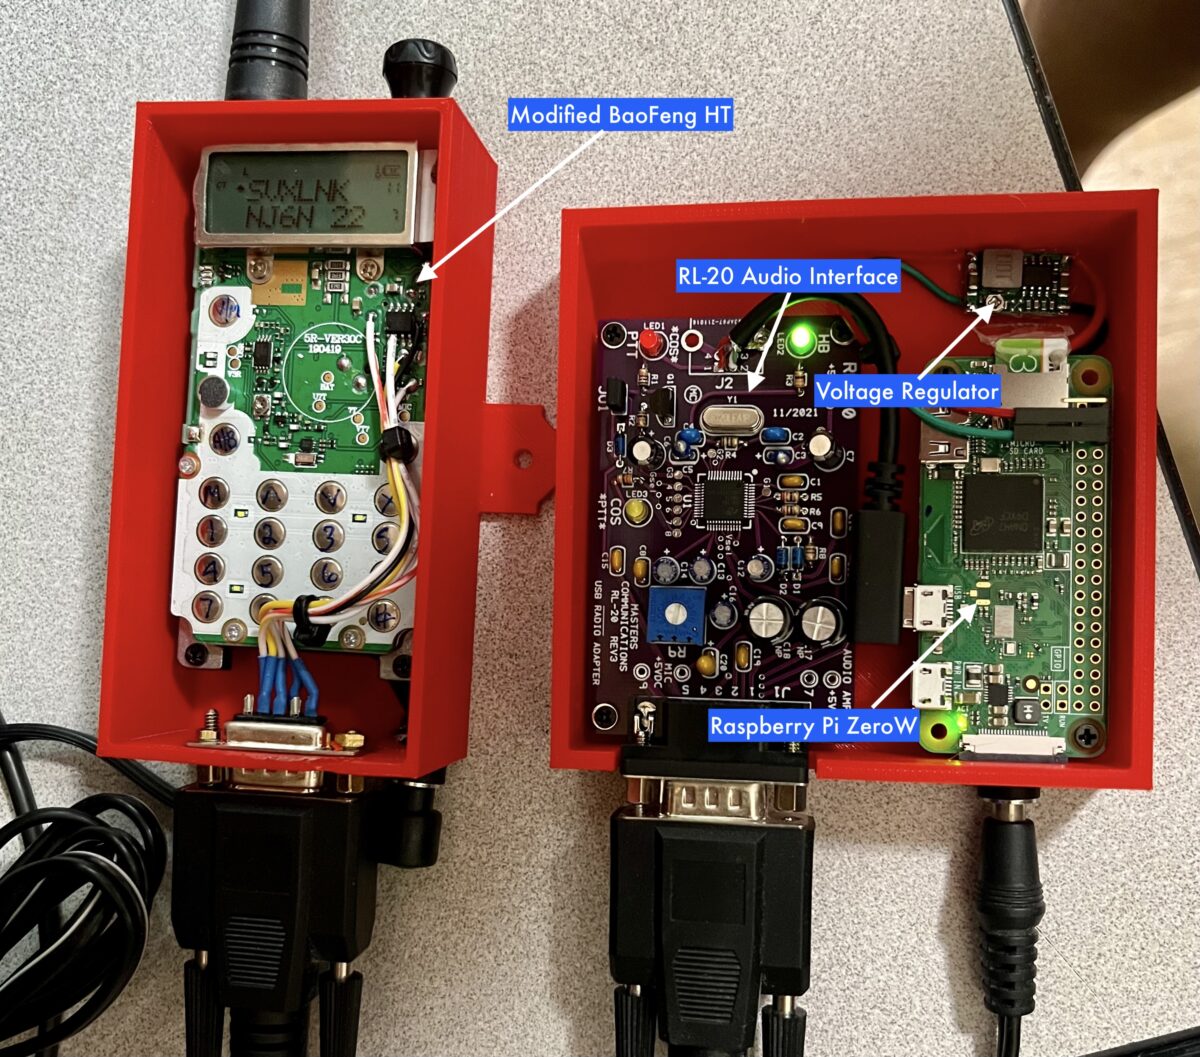
Components
- Raspberry Pi Zero 2W (currently hard to find, but potentially available on Amazon, ebay, Adafruit, Digi-Key)
- ReSpeaker 2-Mics wm8960 Pi HAT (Amazon, Seeed Studio)
- Class 10 micro SD card (Amazon, Target, Wal-Mart, etc.)
- 8 ohm Speaker w/mating connector for ReSpeaker board (Digi-Key, All Electronics, Amazon, etc.)
- Enclosure (optional)
Preparation
- Download the Raspberry Pi “Buster” operating system ISO image
- URL: https://www.raspberrypi.com/software/
- Raspberry Pi Imager can be used to create the bootable operating system for your Pi
- Create a “wpa_supplicant.conf” file and copy this to the “boot” partition
- Instructions for doing this can be found using a Google search.
- Create an empty regular text file named “ssh” in the root of the “boot” partition – this can be done via Linux or MacOS using the “touch” command.
- This enables the ability to remotely log into the system over the network using “ssh”.
- Install your newly created SD card into your Raspberry Pi Zero W (or 2W) and connect the power cable
- Once the system has completed booting, use an ssh client to log into the system as the “pi” user with the password “raspberry”
- To determine the IP address of your Pi, you can often find it through your routers web interface or use a utility like “nmap”.
- If you’ve got a USB keyboard, mouse, and monitor attached, you don’t need to worry about the IP address for now. You can find it using “ifconfig -a”
- Update the operating system using the commands:
- apt -y update && apt -y upgrade
- Change the password for the “pi” and “root”users
- sudo -i
- passwd root
- passwd pi
- Confirm raspberry pi is operating normally and the network is accessible
Installing & Configuring svxLink
- Either open a shell window (Accessories -> Terminal) via the Desktop or ssh into the Pi using putty (Windows) or ssh (Mac/Unix)
- Download my installation script:
- wget -q https://nj6n.com/svxlink/respeaker_svxlink
- Confirm it was downloaded by viewing with “more”
- more respeaker_svxlink
- Execute the installation script
- bash respeaker_svxlink
- This will take some time while the WM8960 driver and svxlink software is downloaded, compiled, and installed.
- The installation script should finish with a message indicating you should reboot the system:
- sudo reboot
- ssh back in (or open Terminal again) and make sure the recording and playback devices are now present:
pi@raspberrypi:~$ aplay -l
**** List of PLAYBACK Hardware Devices ****
card 0: seeed2micvoicec [seeed-2mic-voicecard], device 0: bcm2835-i2s-wm8960-hifi wm8960-hifi-0 [bcm2835-i2s-wm8960-hifi wm8960-hifi-0]
Subdevices: 1/1
Subdevice #0: subdevice #
pi@raspberrypi:~ $ arecord -L
…
sysdefault:CARD=seeed2micvoicec
…
hw:CARD=seeed2micvoicec,DEV=0
- If the card is not at “DEV=0”, you will need to change the [Rx1] and [Tx1] settings in the /etc/svxlink/svxlink.conf for: “AUDIO_DEV=alsa:plughw:0″
- Now you’re ready to test your Respeaker based svxlink station
- First determine if svxlink is running or not.
- sudo systemctl status svxlink
- “Active: active (running)” means it’s running
- “Active: inactive (dead)” means it’s not running
- If it is running, you can stop the process from running:
- sudo systemctl stop svxlink
- You can manually start svxlink by simply typing:
- svxlink
- This is useful for testing. You can quickly determine if the configuration has loaded “SimplexLogic” properly or not.
- You can test the audio output by typing “*#”
- Exit svxlink by typing “q”
- Start the background process for svxlink back up:
- sudo systemctl start svxlink
- To adjust audio levels, use the sudo alsamixer command in a shell window. The audio you hear (transmit audio) can be adjusted through the “Speaker” and “Playback” settings.
- To adjust receive audio level, Press
and use the right arrow key to select the CAPTURE device. Use up/down arrows to adjust levels. - NOTE: If there is NO device with the word “CAPTURE” under it, you can select the capture device by arrowing over to it and pressing the space bar.
- Press the escape key to exit.
- To save your adjustments, use the following command:
- sudo alsactl store -f /etc/wm8960-soundcard/wm8960_asound.state
- Svxlink creates a system log that you can monitor:
- sudo tail -f in /var/log/svxlink
- The configuration file for svxlink is in /etc/svxlink/svxlink.conf
- To Configure EchoLink:
- vi /etc/svxlink/svxlink.d/ModuleEchoLink.conf

Leave a Reply