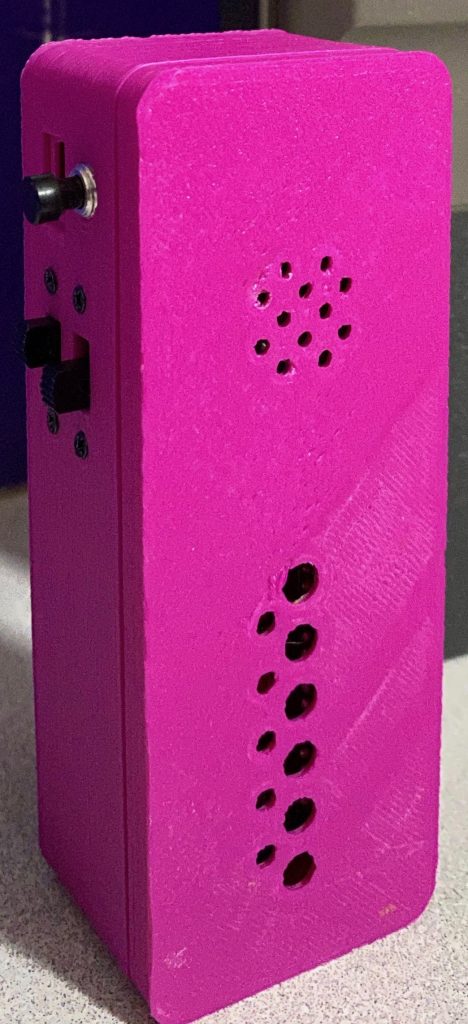
I’ve been toying with the idea of building a walkie talkie based on the svxLink software and Raspberry Pi Zero W platform. I found a really nice audio board that has two microphones, a headphone jack and speaker output that implements the I²S (Inter-IC Sound) digital audio interface standard. FWIW, it’s pronounced “eye squared S”.
Using a Raspberry Pi Zero W with headers to mate with the KeyeStudio ReSpeaker Pi Hat board is all you need to build a functional svxLink walkie-talkie! The KeyeStudio board provides two GPIO output that you can connect to using Grove connectors which is handy. The board has a built-in pushbutton, but it’s not in an ideal location. Using a pushbutton wired to GPIO12 and a slide switch to GPIO13 via the Grove connector provides the necessary buttons. The pushbutton provides a “COR” signal which tells svxLink that there is a signal on the “receiver” which in this case is the two microphones. It functions like a PTT switch. The slide switch is used to change talk groups.
Using a BASH script that’s run in the background to watch the status of GPIO13, a command is sent to svxLink that changes the talk group that is selected on the svxreflector via the svxLinks DTMF_CTRL_PTY facility.
The svxLink software is compiled from source code, and standard configuration settings are updated in svxlink.conf using a BASH script. The main things you will want to configure are the audio interface you’re using, e.g.”plughw:1″, type of the squelch detection (COR), either by GPIO pin or through the CM-119 “HiDraw” interface and what GPIO pin or HiDraw signal is used for PTT. When building a node that is not connected to a radio, the PTT signal can be used to drive an LED that indicates when someone is talking through the node.
svxreflector is described in another post. To recap, svxreflector allows multiple svxLink nodes to chat just like you might on a amateur repeater system. It supports vast numbers of different talk groups so multiple groups of users can have separate conversations. I have svxreflector running on another Raspberry Pi 3B+ computer. One of the nodes is connected to our Laguna Beach repeater. Any node that talks on the same talk group as the repeater, will go out over the air via the repeater. svxreflector authenticates each user by user ID and password.
Once everything was working, I designed and printed several different enclosures. The purple one is a small hand held “svxTalkie” that has a rechargeable LiPo battery and charge controller.
The larger Orange and Red unit is based on the Raspberry Pi 3B+ and features a much larger speaker but the same digital audio board is inside.
Another easy way to get started with svxLink is to use an external USB audio device such as the mVox MV100 that I’ve got set up on a Raspberry Pi 3B+ in one of the photos below. Then all you need to do is wire a PTT button and you’re all set.
One of my first versions of the svxTalkie was based on the Google Voice Kit version 1. It consists of a Raspberry Pi 3B board with a Google Digital Voice hat. The kit includes a fancy cardboard box that you mount the speaker, microphone, and button with LED in. I configured svxLink to use the digital voice board for RX and TX audio and used the button for PTT (actually COR) and the light that indicates when the remote side is talking (actually the PTT signal). It works great but I’ve yet to figure out how to get a volume control implemented in software and am reluctant to mess up the fancy cardboard box with a potentiometer.


Leave a Reply