Darren, G7LWT sent me a Djspot FM transceiver board for the Raspberry Pi to experiment with.
The board is used to create an FM “hotspot” that provides access to other svxlink or EchoLink nodes via the Internet. You can use an HT to communicate through the hotspot on a simplex FM channel. DTMF codes control where you connect to and other operating functions and parameters.
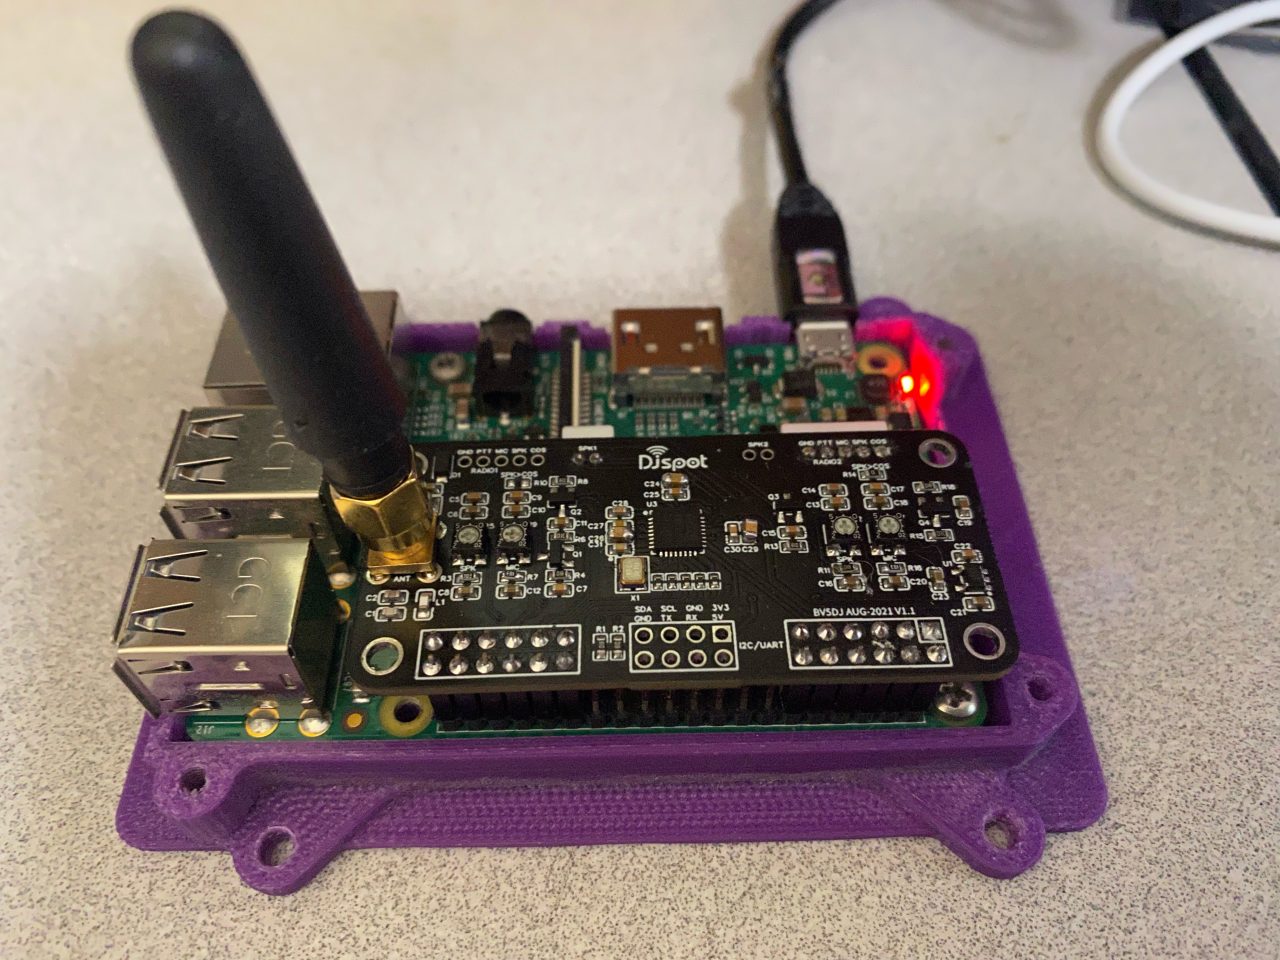
The Djspot was developed by Gabriel Huang, BV5DJ The Raspberry Pi Zero sized “hat” consists of a Cirrus Logic WM8960 audio codec that’s interfaced to a small UHF FM radio module. The Raspberry Pi’s onboard UART is used to control the configuration of the UHF transceiver module.
GPIO pins are used to control PTT (transmit) and detect COR (received audio indicator or “carrier operated relay”).
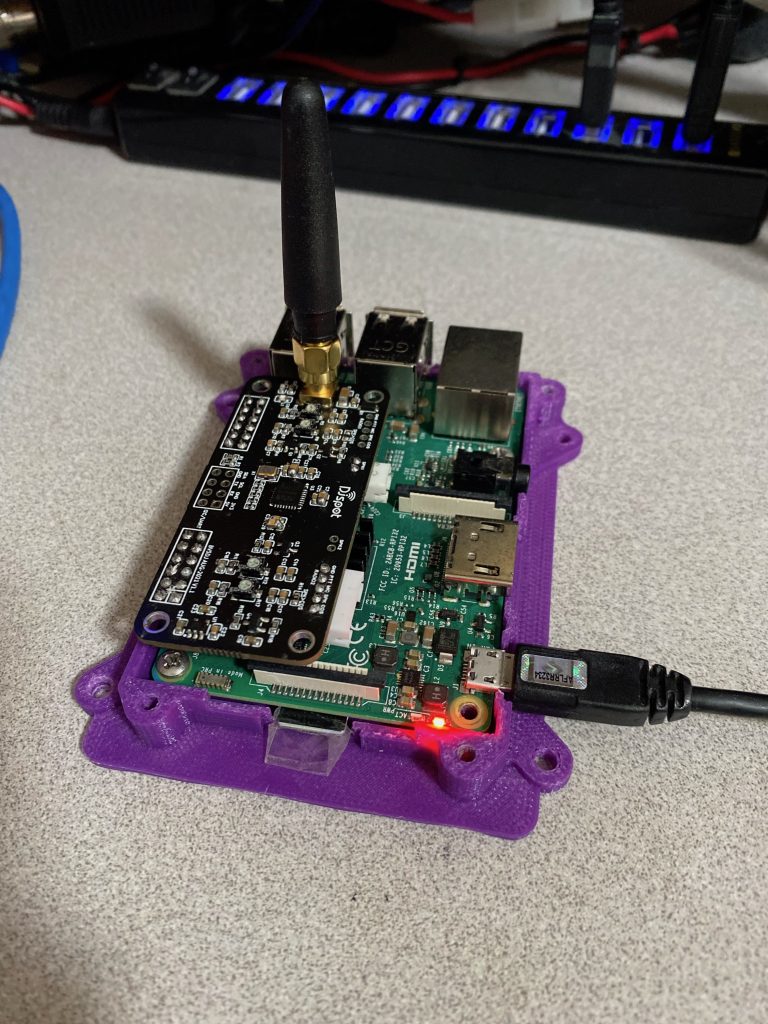
For my first experiments with the Djspot, I used a Raspberry Pi 3B board.


djspot radio connected to Raspberry Pi 3B computer
The recommended software to use with the Djspot is OpenRepeater which is a repackaged version of svxlink that includes a graphical user interface for configuration and monitoring. Configuration parameters are stored in a database and are used to create the svxlink configuration files.
An ISO image is available from Gabriel that you can burn onto an SD Card that already contains the necessary audio codec drivers, but I decided to go with svxlink, and install everything myself so that I could use the native svxlink software that I am very familiar with.
Djspot installation overview
- Download the Raspberry Pi Operating system image and write it to an SD Card
- Configure the system for your network, logins, passwords, etc.
- Do an operating system update to make sure you have the latest code
- Install the WM8960 audio codec kernel drivers
- Download the svxlink source code from GitHub, build and install
- Configure the svxlink software to suit your needs
- Enjoy!
Djspot installation
- Download Raspios from the Raspberry Pi web site and burn it to a 16GB+ sized SD Card
- Created a wpa_supplicant.conf file for your Wifi configuration and copy it to the “boot” partition before you eject the SD Card you created.
- Create an empty file named “ssh” on the boot partition using the “touch” command on MacOS or Linux. Consult your favorite Windows expert for how to do that on Windows. (echo > d:\boot\ssh maybe?)
- Install the card in your raspberry pi Zero W
- Install the Djspot board on top of your Raspberry Pi Zero W (You did purchase the one with headers, didn’t you?)
- Determine what the IP address is for your new Pi Zero
- Check out Angry IP Scanner ( http://angryip.org/ ) if you need help figuring out what the IP address is.
- ssh to pi@{ipaddress} where {ipaddress} is the ip address determined in the previous step.
- The pi account password by default is “raspberry” – make sure to change this!
- This might be a good time to make sure your djspot board isn’t drawing too much current, or producing any heat. If it is, turn it off and contact Gabe.
- To install the necessary drivers and svxlink software, you can use my installer found here:
- curl -O https://nj6n.com/svxlink/djspot_svxlink
- chmod 755 djspot_svxlink
- ./djspot_svxlink
- NOTE: If you’re running Raspios Bullseye, many things have changed. I’m working on a new installer that you can try instead of the one above:
- curl -O https://nj6n.com/svxlink/djspot_svxlink_bullseye
- Enter your call sign and press <RETURN>
- The installer will download the drivers for the WM8960 codec and the current source code for svxlink. The driver and application software will be compiled and installed.
- This takes quite a long time on the Pi Zero W.
- The installer will configure the GPIO pins used by the djspot.
- The DJspot UHF radio module uses GPIO 13 for received audio indicator and GPIO 26 for PTT (Transmit). Both are active High signals.
- The configuration file is located in /etc/svxlink/gpio.conf for these two GPIO pins:
# Space separated list of GPIO pins that point IN and have an
# Active HIGH state (3.3v = ON, 0v = OFF)
GPIO_IN_HIGH="gpio13
# Space separated list of GPIO pins that point OUT and have an
# Active HIGH state (3.3v = ON, 0v = OFF)
GPIO_OUT_HIGH="gpio26"
- Once the software has been compiled, you should reboot the Pi Zero
- ssh back in and make sure the recording and playback devices are now present:
pi@djspot:~$ aplay -l
**** List of PLAYBACK Hardware Devices ****
card 0: wm8960soundcard [wm8960-soundcard], device 0: bcm2835-i2s-wm8960-hifi wm8960-hifi-0 [bcm2835-i2s-wm8960-hifi wm8960-hifi-0
Subdevices: 1/1
Subdevice #0: subdevice #0
pi@djspot:~$ arecord -l
**** List of CAPTURE Hardware Devices ****
card 0: wm8960soundcard [wm8960-soundcard], device 0: bcm2835-i2s-wm8960-hifi wm8960-hifi-0 [bcm2835-i2s-wm8960-hifi wm8960-hifi-0] Subdevices: 0/1
Subdevice #0: subdevice #0
Now you’re ready to test your Djspot! (that was easy, wasn’t it?)
Testing your Djspot on the air
- When you configure the radio you will use with your Djspot, remember to configure the PL Tone that is required. The Djspot default frequency and tone should be included on the label provided with your Djspot.
- Consult your local frequency coordination group to determine the proper frequency to use for your DJspot.
- While transmitting on your DJspot’s frequency with the proper PL tone, use your radio’s DTMF keys to send a single asterisk (*) and then un-key.
- This will cause svxlink to send a voice ID through the transmitter.
- Sending the number one (1) followed by a pound key (#) enables Parrot mode.
- This records your voice over the air and plays it back to you. Send a single pound sign to exit this mode, or it will time out fairly quickly (by default).
- To adjust audio levels, use the sudo alsamixer command in a shell window. The audio you hear (transmit audio) can be adjusted through the “Headphone” setting. To adjust receive audio level, Press <TAB> and use the right arrow key to select the CAPTURE device. Use up/down arrows to adjust levels. press escape to exit.
- To save your adjustments, use the following command:
sudo alsactl store -f /etc/wm8960-soundcard/wm8960_asound.state - Svxlink creates a system log that you can monitor (tail -f) in /var/log/svxlink.
- The configuration file for svxlink is in /etc/svxlink/svxlink.conf
- To Configure EchoLink, edit /etc/svxlink/svxlink.d/ModuleEchoLink.conf using your favorite editor (mine is emacs).
Example EchoLink Configuration
[ModuleEchoLink]
NAME=EchoLink
ID=2
TIMEOUT=7200
#MUTE_LOGIC_LINKING=1
#ALLOW_IP=192.168.1.0/24
#DROP_ALL_INCOMING=0
#DROP_INCOMING=^()$
#REJECT_INCOMING=^()$
#ACCEPT_INCOMING=^(.*)$
#REJECT_OUTGOING=^()$
#ACCEPT_OUTGOING=^(.*)$
#REJECT_CONF=0
#CHECK_NR_CONNECTS=2,300,120
SERVERS=servers.echolink.org
CALLSIGN=NJ6N-L
PASSWORD=TOPSECRET
SYSOPNAME=Brian
LOCATION=[Svx] Laguna Niguel, CA USA
#PROXY_SERVER=the.proxy.server
#PROXY_PORT=8100
#PROXY_PASSWORD=PUBLIC
#BIND_ADDR=10.20.30.40
MAX_QSOS=5
MAX_CONNECTIONS=6
LINK_IDLE_TIMEOUT=7200
#AUTOCON_ECHOLINK_ID=9999
#AUTOCON_TIME=1200
#USE_GSM_ONLY=1
#DEFAULT_LANG=en_US
#COMMAND_PTY=/dev/shm/echolink_ctrl
#REMOTE_RGR_SOUND=0
DESCRIPTION="You have connected to a SvxLink node!\n"
            "QTH:     Laguna Niguel CA USA\n"
            "QRG:     Simplex link on 440.000 MHz\n"
            "CTCSS:   123.0 Hz\n"
            "Trx:     Djspot RPi\n"
            "Antenna: Tiny Zero Gain Antenna\n"
If you use a Raspberry Pi other than the Pi Zero, you need to either disable the internal audio device or configure the DJSpot to be on the second audio controller. (e.g. use AUDIO_DEV=alsa:plughw:1 instead of plughw:0)
Since the audio codec is designed to handle stereo audio input and output, there is a second channel that can be interfaced to an external radio as well. The second radio port is designed to interface to a handie-talkie style radio that does not provide a proper “COR” signal, so audio energy is rectified and fed to the COR GPIO pin to detect received signals.
To access the radio module to change the frequency, you must enable the Raspberry Pi’s serial port (UART) using the configuration menu:
sudo raspi-config
Select Interface Options -> Serial Port. Answer No to the question “Would you like a login shell to be accessible over serial?”, then answer Yes to the question “Would you like the serial port hardware to be enabled?”
Contact Gabriel for a Python script that you can use to change the frequencies and PL of the radio module over the Raspberry Pi’s serial port.
Have fun!

Leave a Reply